 Save
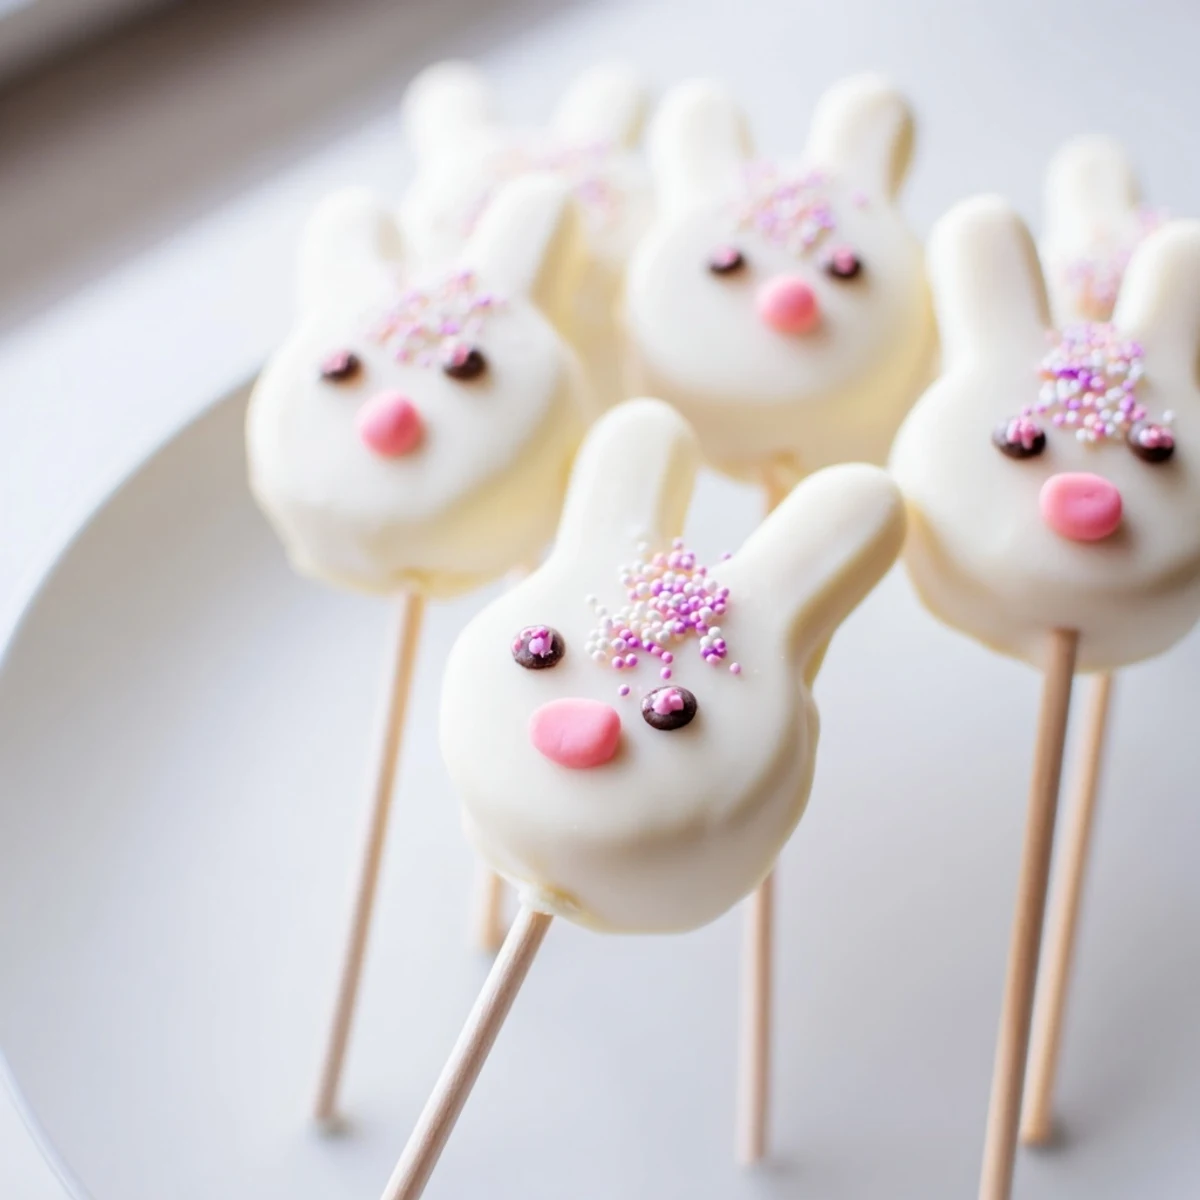
Save These delightful bunny-shaped treats combine moist vanilla cake centers with rich white chocolate coating. The cake mixture blends cake crumbs with cream cheese and butter for the perfect texture, shaped into adorable bunny faces. After chilling, dip in melted white chocolate and decorate with candy eyes, sprinkles, or fondant details to bring your bunnies to life. Ideal for Easter celebrations, spring parties, or anytime you want whimsical homemade treats. Easy to customize with different cake flavors and decoration styles.
The kitchen counter was covered in white chocolate splatters and my daughter was grinning with pink frosting on her nose when we first attempted these whimsical treats. I had meant to make ordinary cake pops, but she grabbed a bunny-shaped cookie cutter and suddenly our Easter dessert plans transformed into something much more magical. Now these adorable cakesicles have become our most requested spring tradition.
Last Easter Sunday, my sister-in-law actually asked if I had ordered these from a fancy bakery because the decorations looked so professional. I laughed and showed her the simple process, which ended up turning our dessert prep into a fun family activity with everyone decorating their own bunny. Those joyful moments around the kitchen table, creating memories while covered in sprinkles and melted chocolate, became more precious than the treats themselves.
Ingredients
- Vanilla cake crumbs: These form the base of your cakesicles and using homemade or high-quality store-bought cake makes a noticeable difference in flavor
- Cream cheese and butter: The softened fats bind the crumbs together creating that perfect dough-like consistency that holds its shape
- Powdered sugar: Just enough sweetness to balance the tangy cream cheese without making the mixture too sweet
- Vanilla extract: Pure vanilla extract enhances all the flavors and gives the cake filling that classic bakery taste
- White chocolate or candy melts: High-quality white chocolate melts beautifully and creates that smooth professional-looking coating
- Edible gel food coloring: Gel colors work better than liquid for decorating small details like bunny noses and ears
- Cakesicle sticks: Make sure to insert these firmly before coating so your bunnies stay secure on their sticks
- Decorations: Candy eyes, sprinkles, and fondant let you give each bunny its own personality
Instructions
- Mix the cake mixture:
- In a medium bowl, combine cake crumbs, softened cream cheese, butter, powdered sugar, and vanilla extract. Mix thoroughly until you achieve a dough-like consistency that holds together when squeezed.
- Shape your bunnies:
- Divide the mixture into 8 equal portions and gently shape each into a flattened oval or bunny face form. Work with clean, slightly damp hands to prevent sticking.
- Add the sticks:
- Carefully insert a cakesicle stick into each shaped portion, pressing gently to secure. Place on a parchment-lined tray and refrigerate for 20-30 minutes until firm to the touch.
- Melt the coating:
- Melt white chocolate in a microwave-safe bowl using 30-second intervals, stirring between each burst until completely smooth and glossy.
- Dip and coat:
- Dip each chilled cake pop into the melted chocolate, ensuring complete coverage. Gently tap against the bowl edge to remove excess coating for a smooth finish.
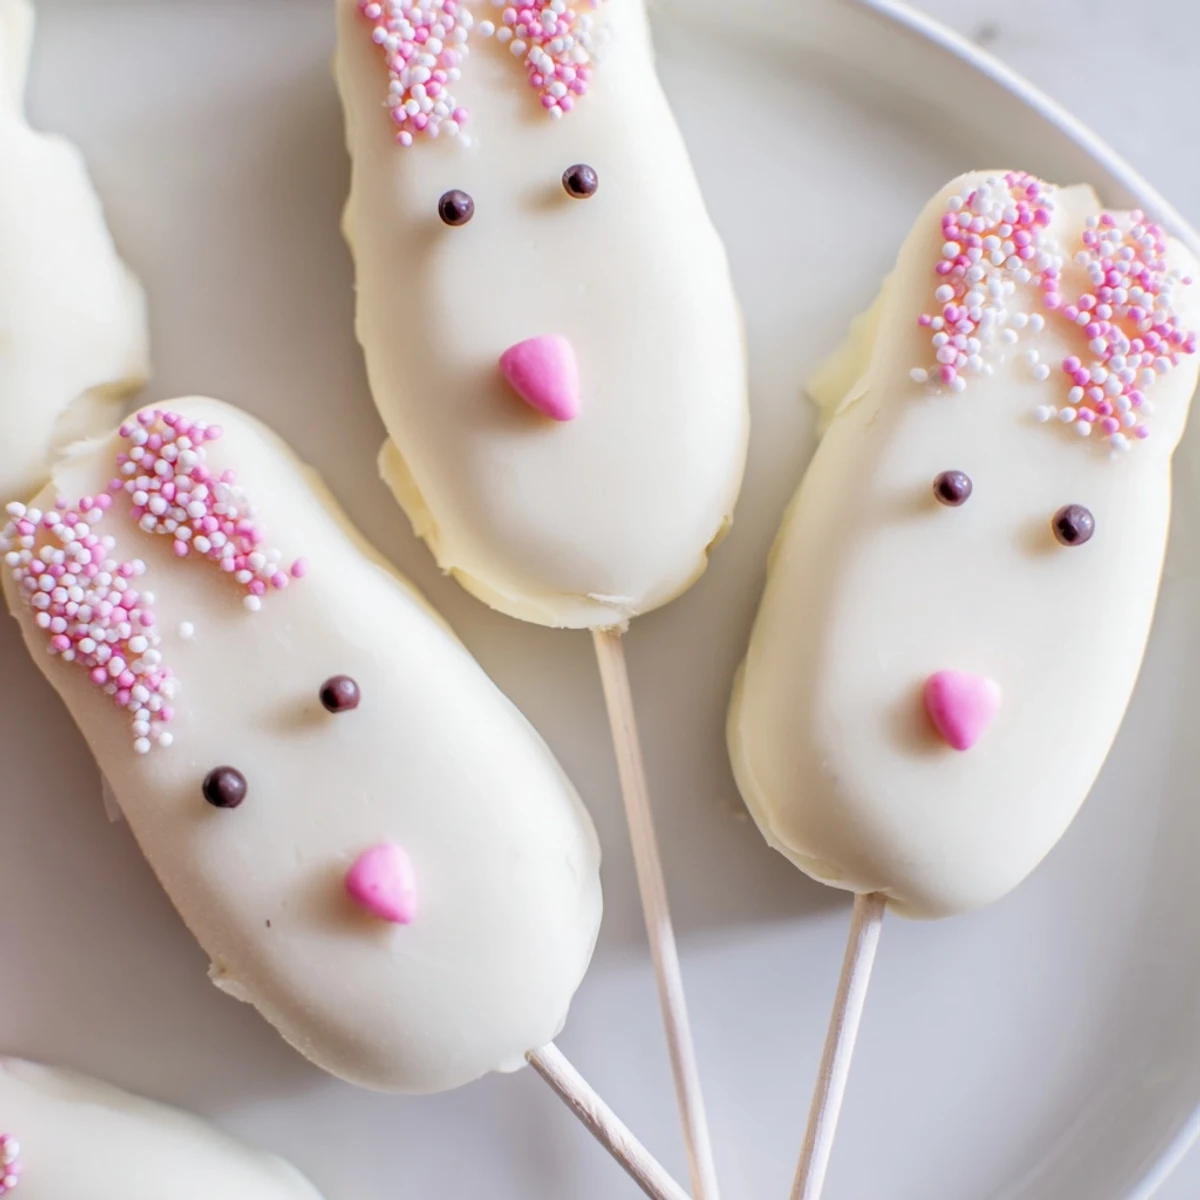
- Decorate while wet:
- Immediately add candy eyes, sprinkles, or fondant bunny features while the chocolate is still soft. This ensures decorations adhere properly without needing additional adhesive.
- Set completely:
- Allow the cakesicles to set at room temperature for 30 minutes or refrigerate for 10 minutes to speed up the process.
- Add final details:
- Use food coloring pens or gel to add whiskers, noses, or other finishing touches once the base coating has fully hardened.
 Save
Save My niece now requests these every year instead of traditional Easter candy, saying they are much more special because we make them together. Watching her carefully place each candy eye and decide exactly where each bunny's pink nose should go has become one of my favorite holiday moments.
Choosing Your Cake Base
While vanilla cake creates a classic neutral backdrop that lets the white chocolate shine, do not be afraid to experiment with different flavors. Chocolate cake creates a stunning contrast when white chocolate drips down the sides, while lemon or Funfetti varieties add unexpected pops of color and flavor that guests always comment on.
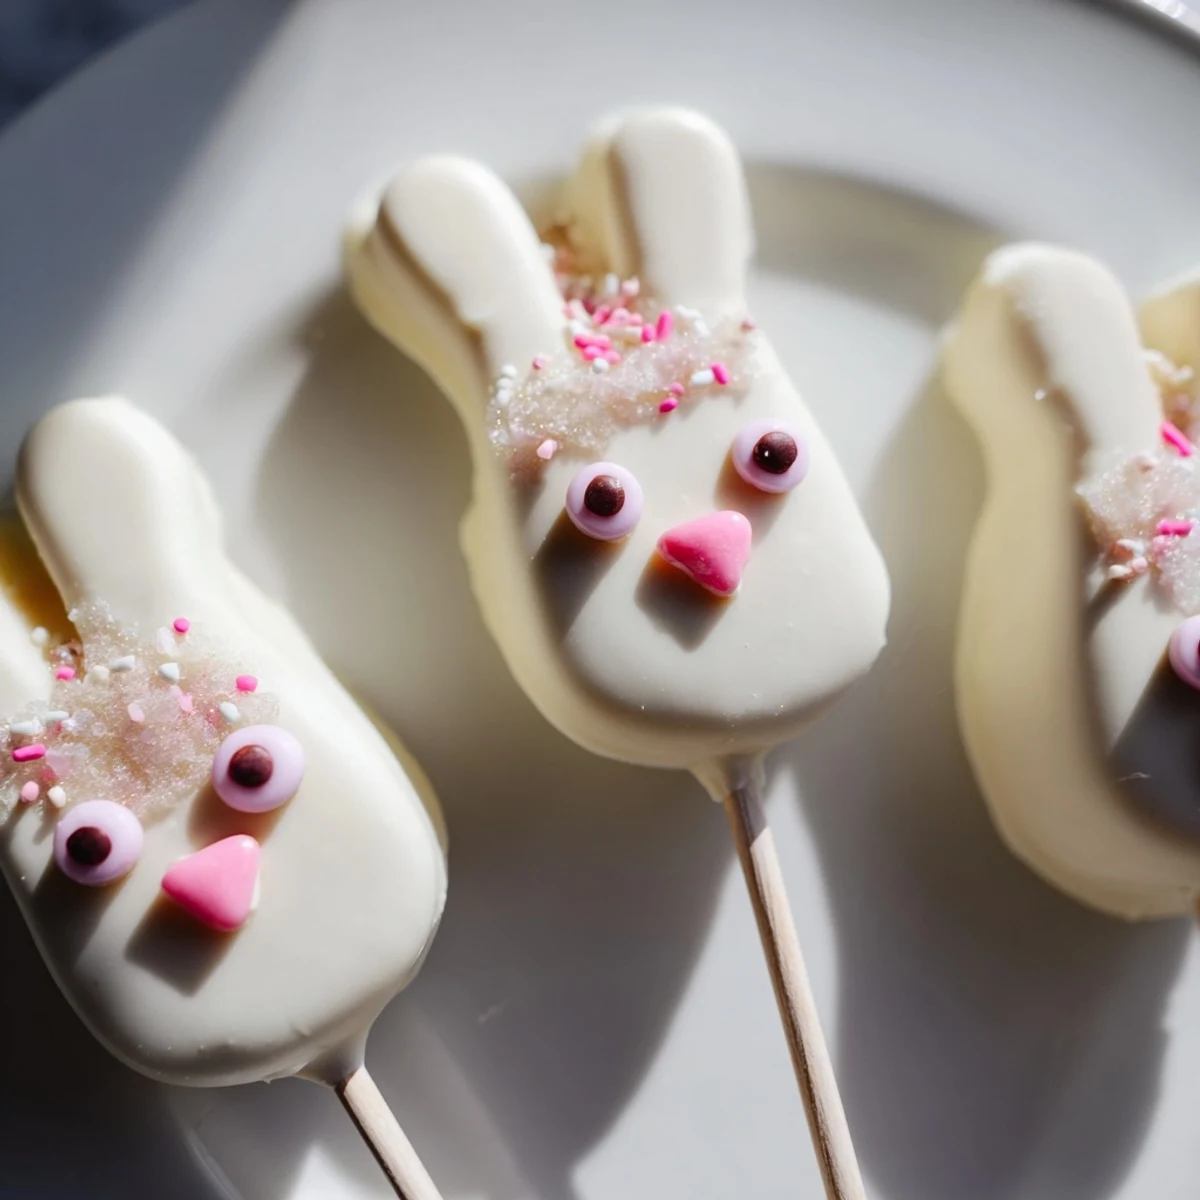
Decoration Ideas That Wow
Beyond the standard candy eyes and pink noses, try using edible glitter on the ears for a sparkling effect or painting tiny details with food-safe brushes and gel coloring. Some bakers even create tiny bow ties from fruit leather or use heart-shaped sprinkles positioned sideways as adorable bunny eyelashes.
Storage And Serving Tips
These treats are best served the same day they are made when the coating is freshest and the cake interior is at its moistest. If you need to make them ahead, store them in an airtight container between layers of parchment paper in the refrigerator for up to three days.
- Let refrigerated cakesicles come to room temperature for 15 minutes before serving for the best texture
- Package individual cakesicles in clear treat bags tied with pastel ribbon for adorable party favors
- Set up a decorating station at your Easter gathering letting guests customize their own bunny faces
 Save
Save There is something genuinely delightful about biting through crisp white chocolate into soft cake, especially when shaped like an adorable bunny face. May your Easter be filled with sweet moments and happy memories made around the kitchen table.
Recipe Questions
- → How long do these treats stay fresh?
-
Store in an airtight container in the refrigerator for up to 3 days. The chilled white chocolate coating helps maintain freshness and texture.
- → Can I make these ahead of time?
-
Absolutely. Prepare the cake mixture and shape into bunny forms, then refrigerate for up to 24 hours before coating and decorating.
- → What if I don't have a cakesicle mold?
-
No problem. Shape the mixture by hand into flattened bunny faces. The mold simply helps with uniformity, but hand-shaping works perfectly well.
- → Can I use different cake flavors?
-
Yes. Chocolate cake crumbs work beautifully with white chocolate coating. Lemon, red velvet, or carrot cake also make delicious variations.
- → How do I prevent the coating from cracking?
-
Ensure the cake centers are thoroughly chilled before dipping. Room temperature centers can cause the coating to crack due to temperature difference.
- → What decorations work best for bunny faces?
-
Candy eyes, pink sprinkles for noses, and fondant or modeling chocolate for ears are popular options. Edible food pens also work well for adding details.