 Save
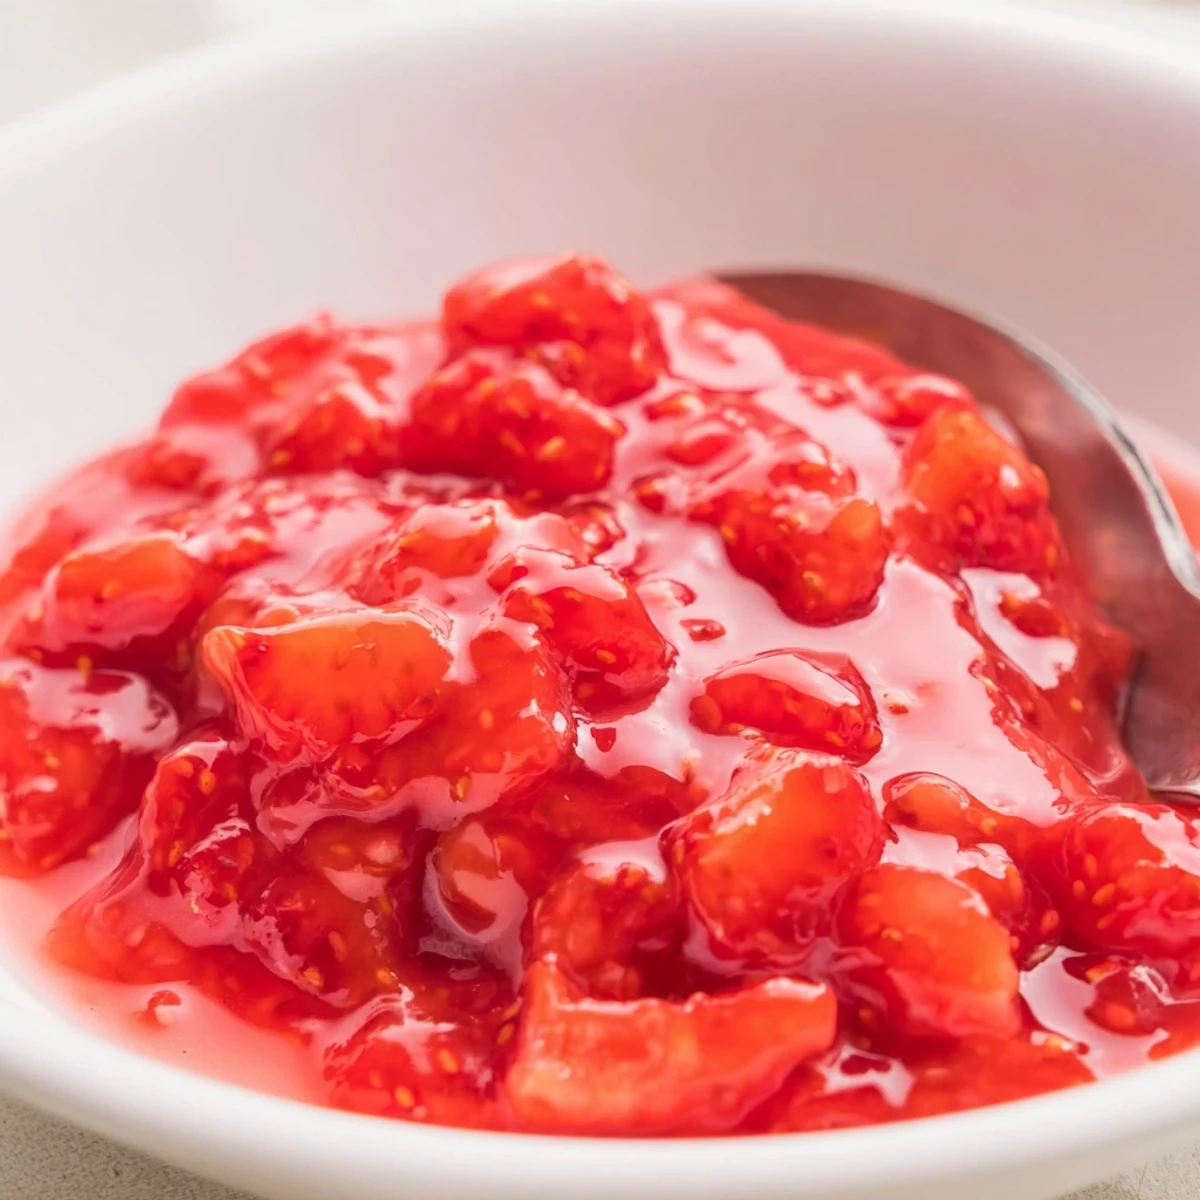
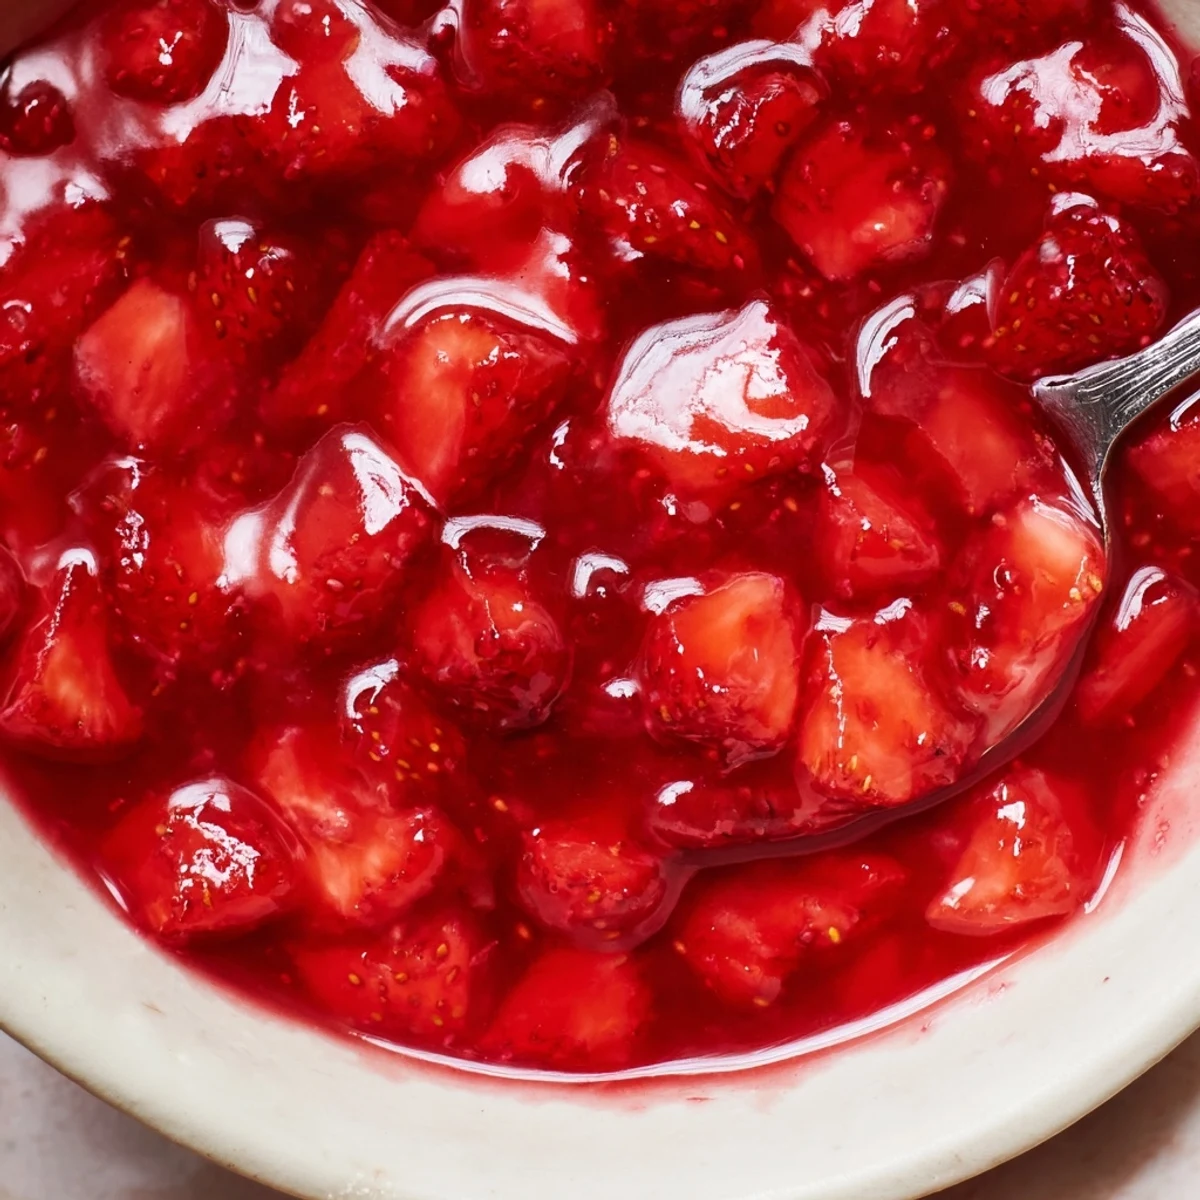
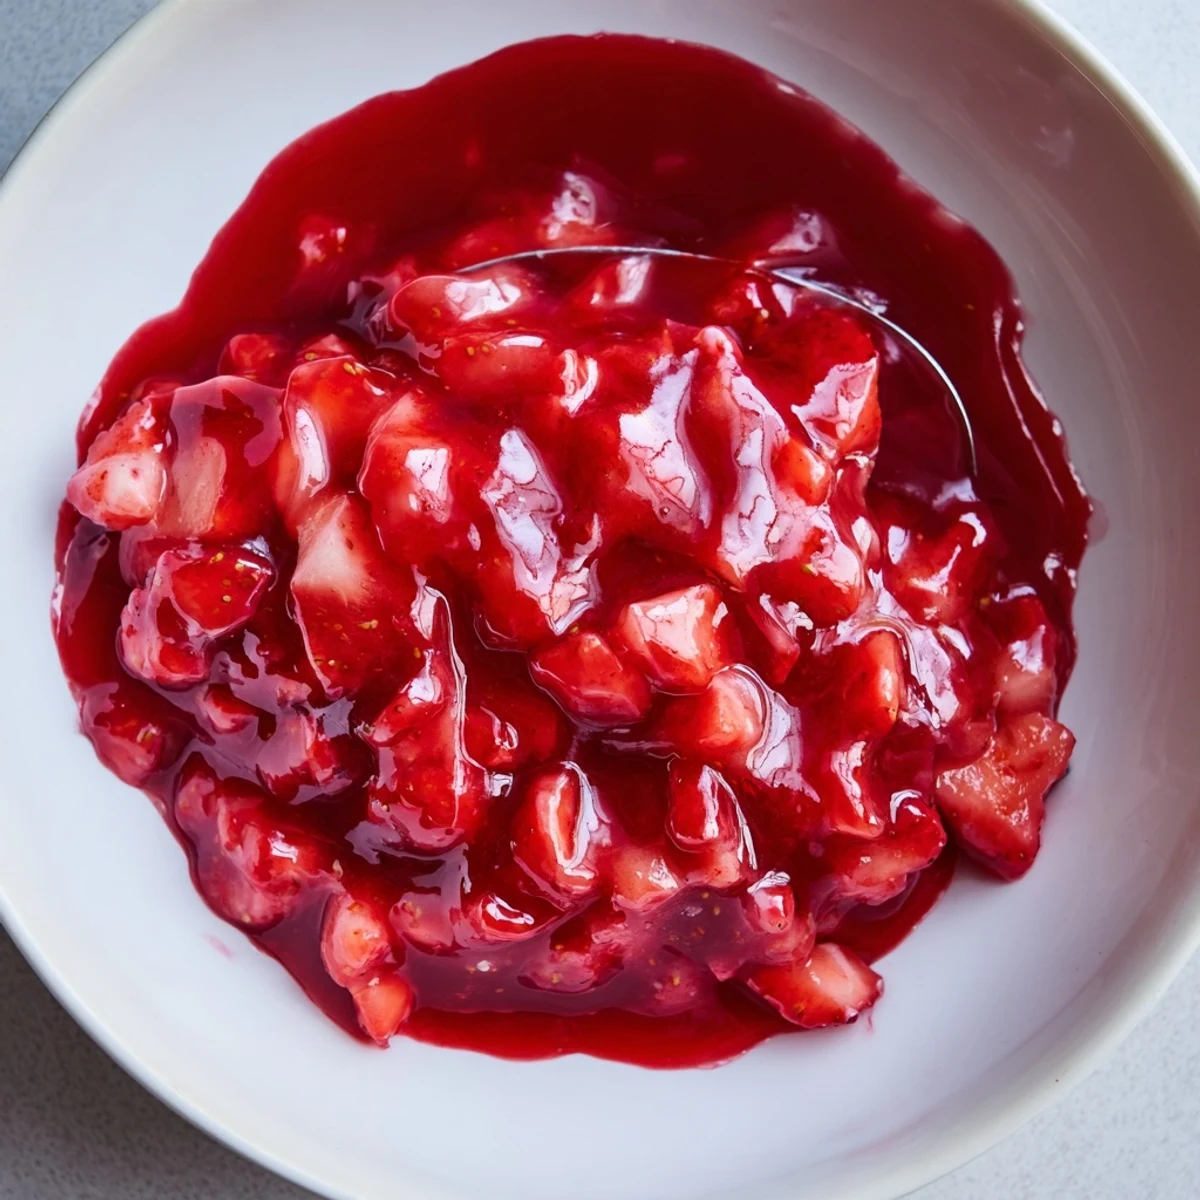
Save This luscious strawberry cake filling starts with 2 cups of diced fresh berries cooked with sugar and lemon until they release their juices. A cornstarch slurry thickens the mix to a glossy finish in about 15 minutes of cooking and 10 minutes prep. The yield is roughly 2 cups—ideal for a 9-inch layer. Cool completely before layering; it firms as it chills and can be blended for a smoother texture.
The gentle simmering of strawberries always brings an unmistakable scent to my kitchen, signaling that something sweet and summery is on its way. One unexpectedly rainy afternoon last spring, I found myself with a brimming basket of perfectly ripe strawberries and a craving for something to brighten up a simple vanilla cake. Instead of jam, I embarked on a cake filling that felt both rustic and luxurious. The result was this glossy, fruit-forward filling that everyone wanted to eat by the spoonful.
I first served this at a neighbor’s birthday get-together, and it stole the show even before I stacked the layers – people kept sneaking back for small jars of the still-warm filling. There’s something fun about watching someone’s face light up at the bright, real berry flavor in a slice of homemade cake.
Ingredients
- Fresh strawberries: Go for really ripe berries – they release the most juice and infuse the filling with bold flavor. If yours are extra sweet, you can trim back the sugar a little.
- Granulated sugar: Just enough to bring out the strawberry flavor without turning it into jam; taste and add more if your berries are especially tart.
- Lemon juice: The acidity lifts the strawberry flavor, and a fresh lemon tastes leagues brighter than bottled.
- Cornstarch: Gives the filling just the right spoonable thickness so it doesn’t ooze out between cake layers.
- Water: Helps dissolve the cornstarch and balance the overall consistency – don’t skip this step or your filling might lump.
- Vanilla extract (optional): Adds a hint of warmth that rounds out the fruity notes, but it’s lovely with or without.
Instructions
- Get everything ready:
- Start by hulling and dicing your strawberries – a little mess is part of the charm here, and the vibrant red juice stains your fingers in the best way.
- Combine and coat:
- Add the strawberries, sugar, and lemon juice to a saucepan and stir; you’ll see the sugar quickly draw out the berry liquids.
- Simmer the fruit:
- Cook over medium heat while gently stirring until the strawberries soften and the kitchen starts to smell heady and sweet.
- Prepare the thickener:
- Whisk the cornstarch and water in a bowl until there’s not a single lump left.
- Thicken the filling:
- Pour the slurry into the hot berries and stir nonstop – in a couple of minutes, you’ll notice the filling turn shiny and thick enough to coat your spoon.
- Add the vanilla:
- Once off the heat, mix in vanilla if you’re using it, and watch the steam rise with a dreamy aroma.
- Cool completely:
- Let the filling cool on the counter; it’ll continue to set as it cools, which makes spreading it easy and satisfying.
- Store leftovers:
- Pop any remaining filling into an airtight container and tuck it in the fridge for future cake adventures.
 Save
Save This recipe went from sidekick to star the day my niece decided we should swirl some into yogurt for an impromptu after-school treat. Suddenly, it found its way onto pancakes, inside doughnuts, and even on top of warm scones – there’s rarely any leftover these days.
Make It Your Own
Playing with different berries has led to some surprises – blueberries give it a silken texture, and raspberries add a punchy twist. If you’re feeling experimental, try a swirl of both or blitz it for a velvety finish.
Thoughts on Texture
I used to aim for whole pieces of strawberry set in jelly, but after trying it mashed and even pureed, I realized every texture has its place. For layer cakes, a smoother filling helps keep each slice neat and full of flavor.
Storing and Serving Ideas
Airtight containers are essential if you’re not using it all at once – I’ve found that the flavors mellow and improve overnight. Try making a half batch for cupcakes, or keep a small jar ready for waffles on Sunday mornings.
- Once spread, let the cake chill for at least half an hour to set the filling.
- Leftover filling is dreamy over vanilla ice cream.
- Don’t forget to taste before you finish – sometimes a dash more lemon brightens everything.
 Save
Save There’s something wonderful about homemade berry filling in a cake, especially when you’ve made it your own. Here’s to letting fresh fruit take center stage, one slice at a time.
Recipe Questions
- → How do I get a smooth filling?
-
For a smoother texture, mash the berries thoroughly with a fork while cooking or pulse briefly with an immersion blender after removing from heat. Straining through a fine sieve will remove seeds for a silky finish.
- → How thick should the filling be before cooling?
-
Cook until the mixture becomes glossy and coats the back of a spoon, typically 3–5 minutes after adding the cornstarch slurry. It will thicken further as it cools, so avoid overcooking to prevent an overly firm gel.
- → Can I swap strawberries for other fruit?
-
Yes. Raspberries or blueberries work well with the same method; adjust sugar and lemon to taste since acidity and sweetness vary by fruit.
- → How long does the filling keep in the fridge?
-
Store in an airtight container for up to 5 days. For longer storage, freeze in portions for up to 2 months and thaw in the refrigerator before use.
- → How can I adjust sweetness or tartness?
-
Taste as the fruit cooks and add more sugar for sweetness or an extra splash of lemon juice to brighten and balance the flavor. Add gradually to avoid oversweetening.
- → Is this suitable for gluten-free diets?
-
Yes. Using cornstarch as the thickener and checking labels for any cross-contamination ensures the filling remains gluten-free.