
 Save
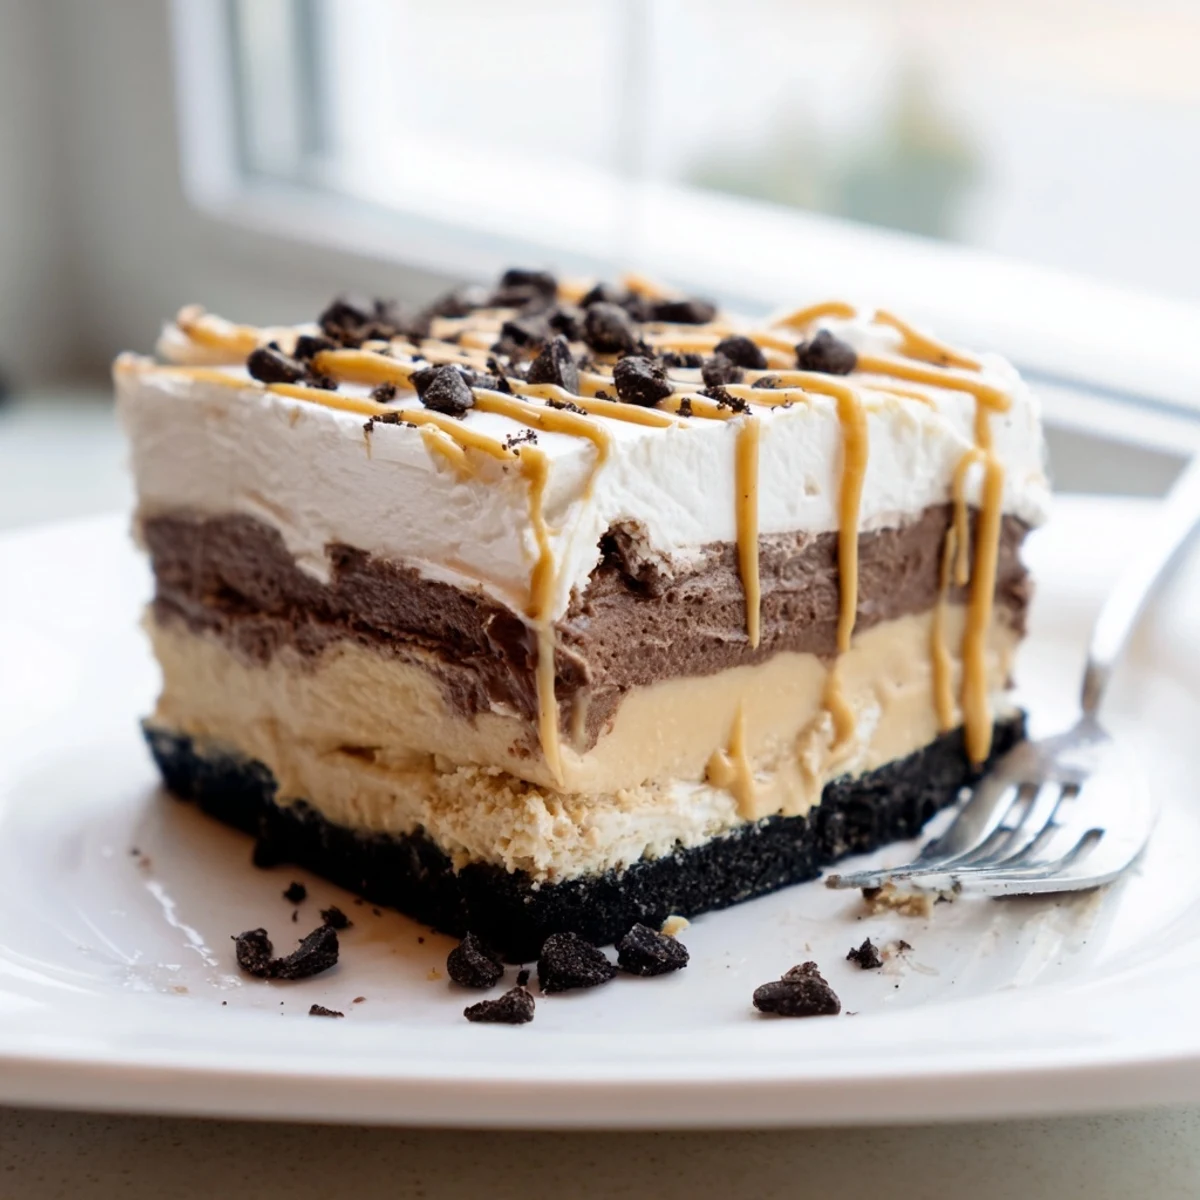
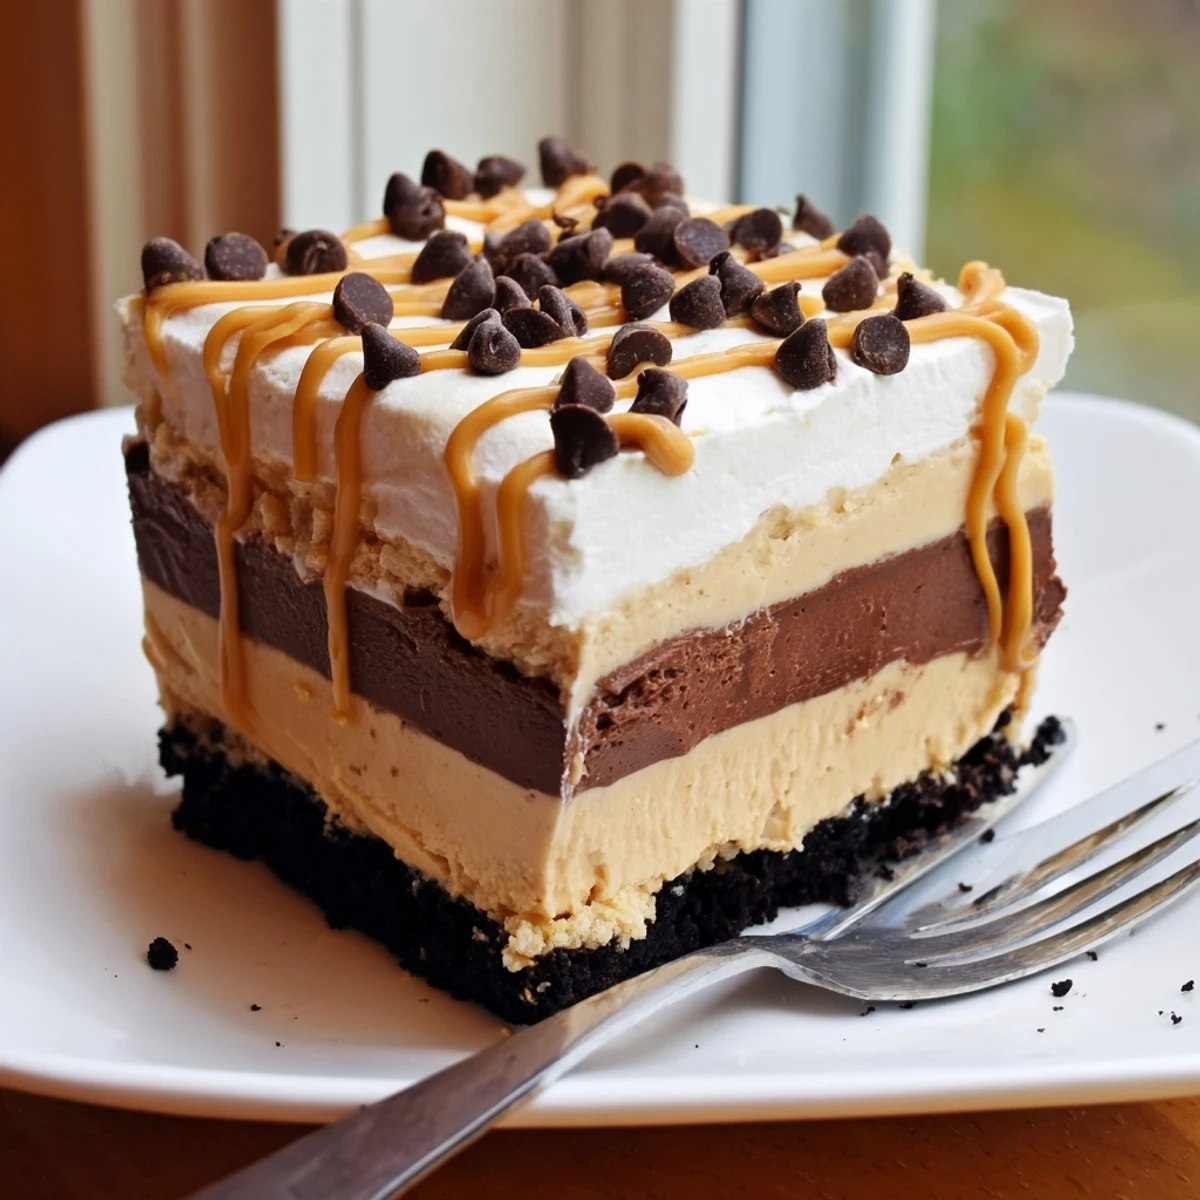
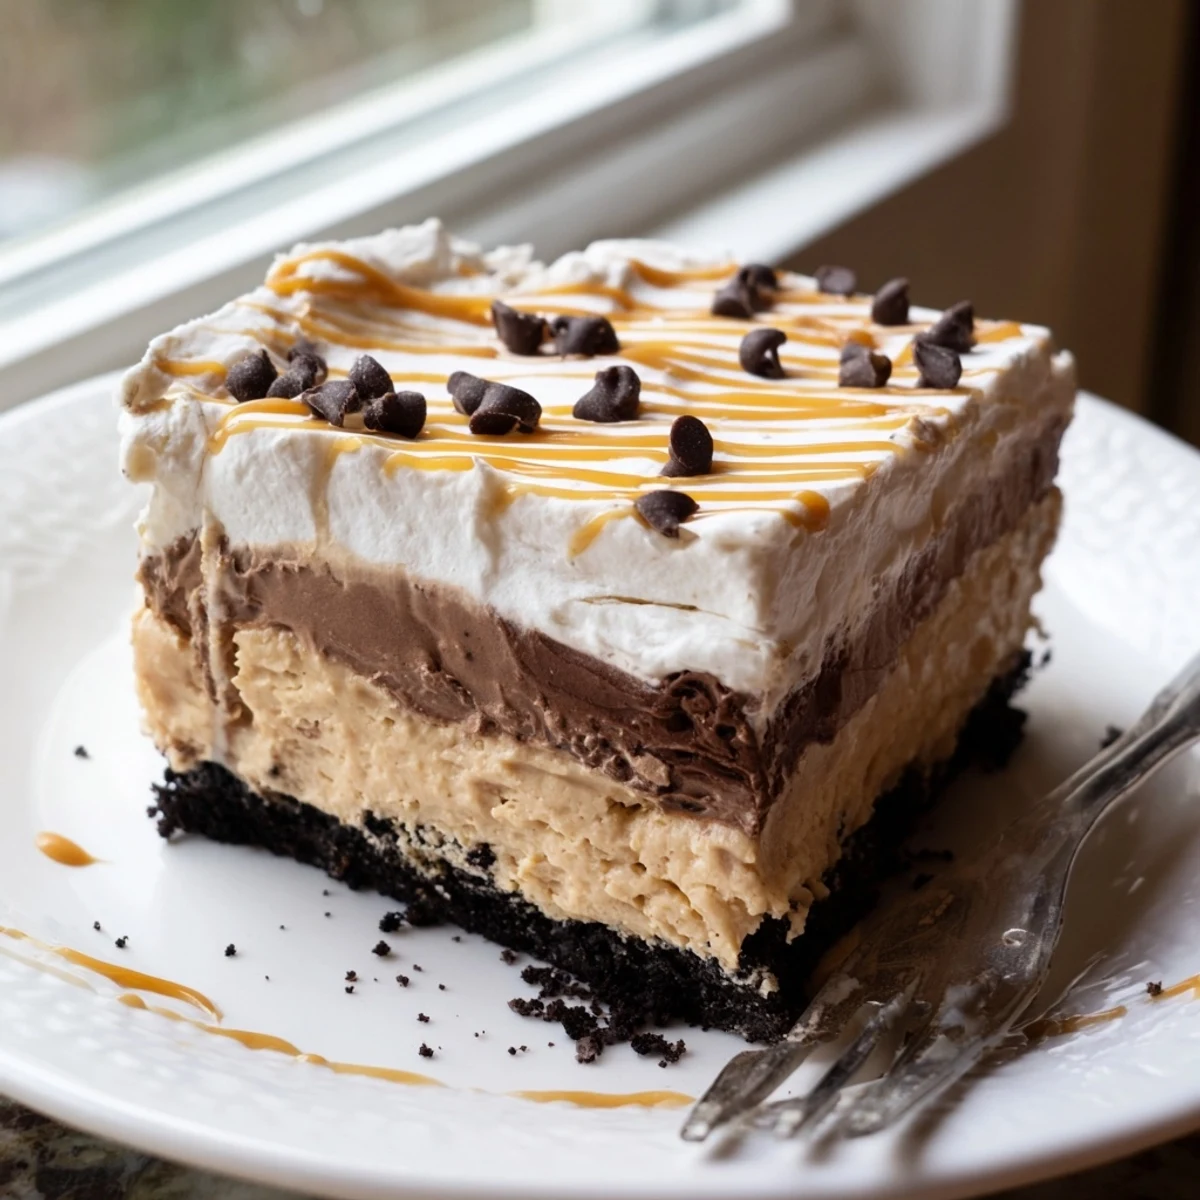
Save This no-bake peanut butter layered delight brings together everything you love about classic American desserts in one pan. A buttery chocolate cookie crust forms the base, topped with a silky cream cheese and peanut butter mousse that melts in your mouth.
The chocolate pudding layer adds rich contrast, while the fluffy whipped topping finishes it off beautifully. After three hours in the fridge, you will have a perfectly set dessert that slices neatly into squares.
It is straightforward to prepare, uses simple ingredients, and feeds eight people comfortably. Great for potlucks, celebrations, or any occasion that calls for something sweet and satisfying.
The summer I discovered this peanut butter layered delight, my kitchen became the most popular room in the house. My youngest stood on a step stool watching every layer go in, asking if we could eat it yet. Three hours of chilling felt like an eternity to a seven year old, but the silence at the table when we finally dug in said everything.
I brought this to a neighborhood potluck once and watched a friend literally lick her plate clean when she thought nobody was looking. That moment told me more than any compliment ever could.
Ingredients
- 200 g chocolate sandwich cookies (e.g., Oreos), crushed: The crust is everything here, so crush them finely for the best texture and even pressing.
- 75 g unsalted butter, melted: Binds the crumbs together and adds richness to the base.
- 225 g cream cheese, softened: Let it sit out for thirty minutes so it blends without lumps.
- 120 g creamy peanut butter: Use a standard commercial brand for the smoothest result in this layer.
- 100 g powdered sugar: Sweetens the peanut butter layer without adding graininess.
- 480 ml whipped topping (e.g., Cool Whip), thawed, divided: Split between the peanut butter layer and the final topping.
- 1 package (100 g) instant chocolate pudding mix: Instant sets quickly without cooking, which is essential for this no bake approach.
- 375 ml cold milk: Cold milk helps the instant pudding thicken properly.
- 2 tbsp peanut butter, melted (optional, for drizzling): A warm drizzle on top makes it look bakery worthy.
- Chocolate shavings or mini chocolate chips (optional): Adds a little visual charm and a satisfying crunch.
Instructions
- Build the cookie crust:
- Toss the crushed cookies with melted butter until every crumb glistens, then press firmly and evenly into your baking dish. Pop it in the fridge so it firms up while you work on the next layer.
- Whip up the peanut butter filling:
- Beat the cream cheese, peanut butter, and powdered sugar until perfectly smooth, then gently fold in the whipped topping with a spatula. Spread this cloud of peanut butter goodness over your chilled crust.
- Create the chocolate pudding layer:
- Whisk the pudding mix and cold milk together for about two minutes until it thickens and coats the back of a spoon. Pour it over the peanut butter layer and spread gently so the layers stay distinct.
- Finish with the topping:
- Spread the remaining whipped topping over everything, then drizzle with melted peanut butter and scatter chocolate shavings if you are feeling fancy. Cover tightly and refrigerate for at least three hours until everything sets into beautiful layers.
- Slice and serve:
- Use a sharp knife dipped in hot water for the cleanest cuts through all those gorgeous layers. Serve chilled and watch faces light up.
 Save
Save One rainy Tuesday my daughter asked if we could make it together from start to finish, and she did most of the whisking herself. Seeing her proudly carry the dish to the fridge, careful not to spill a drop, was worth every bit of the mess on the counter.
Gluten Free Options
Swapping in gluten free chocolate sandwich cookies works beautifully and nobody will notice the difference. I tested this for a friend with celiac disease and she practically wept with gratitude.
Making It Your Own
Chopped roasted peanuts scattered between the peanut butter and pudding layers add a wonderful crunch that contrasts with all that creaminess. Homemade whipped cream can replace the whipped topping if you prefer a more rustic, less sweet finish.
Serving and Pairing Suggestions
This dessert shines brightest straight from the fridge on a warm evening, maybe with glasses of cold milk or a pour of something sweet. Keep it simple and let the layers do the talking.
- A hot cup of coffee cuts through the richness perfectly alongside a slice.
- Small squares work better than large ones because this is genuinely rich.
- Always store leftovers covered in the fridge and eat within three days for the best texture.
 Save
Save Some desserts are just desserts, but this one has a way of turning ordinary afternoons into small celebrations. Keep it in your back pocket for whenever someone needs a little extra joy.
Recipe Questions
- → Can I make this dessert ahead of time?
-
Yes, this dessert actually benefits from being made in advance. You can prepare it up to 24 hours before serving and keep it covered in the refrigerator. The layers set beautifully and the flavors meld together overnight.
- → What can I substitute for whipped topping?
-
You can use homemade whipped cream made from heavy cream and a touch of powdered sugar. Whip about 300 ml of heavy cream to stiff peaks and use it in place of the whipped topping for a richer, more natural flavor.
- → How do I get clean slices when cutting?
-
Use a sharp knife and wipe it clean between each cut. Running the knife under hot water, then drying it before each slice, helps achieve neat squares. Chilling the dessert for the full three hours ensures it is firm enough to cut cleanly.
- → Can I use crunchy peanut butter instead of creamy?
-
Crunchy peanut butter works fine and adds nice texture to the peanut butter layer. The dessert will have small peanut pieces throughout, which some people actually prefer for the added crunch.
- → How should I store leftovers?
-
Store leftovers covered in the refrigerator for up to three days. Cover the dish tightly with plastic wrap or transfer individual slices to an airtight container. This dessert does not freeze well due to the whipped topping and pudding layers.
- → Is there a gluten-free option for the crust?
-
Simply swap the regular chocolate sandwich cookies for a gluten-free variety. Many brands offer gluten-free chocolate cookies that work perfectly. Also check the pudding mix label to ensure it is gluten-free.