 Save
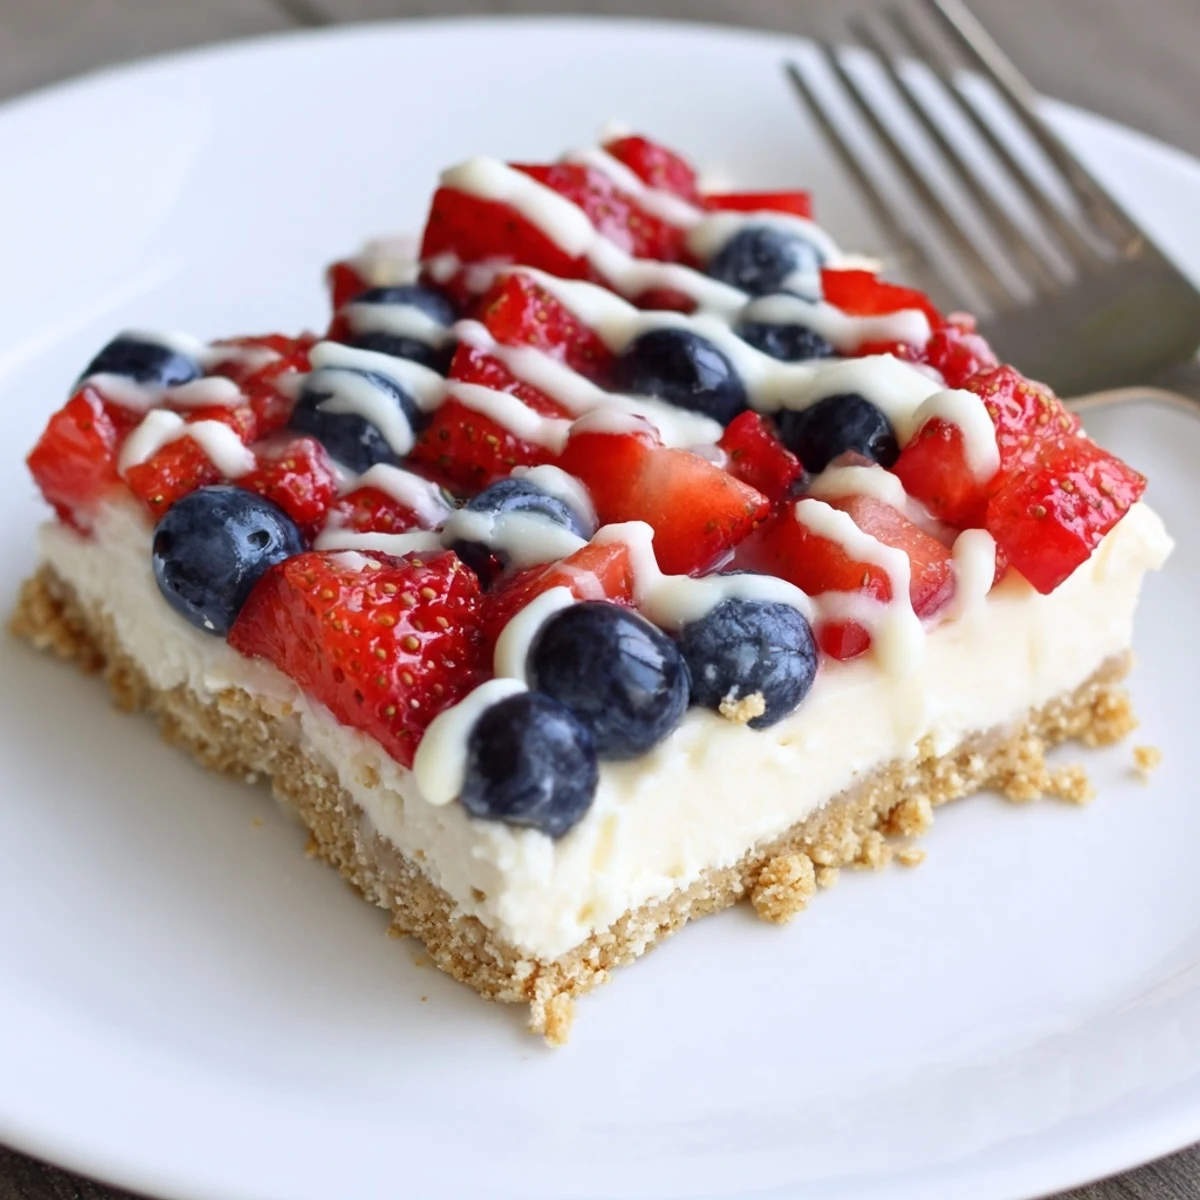
Save Start with a buttery graham crust pressed into a 9x9 pan, then pour a smooth cream cheese filling and bake until the center is just set. Chill for at least three hours to firm the bars. Before serving, arrange chopped strawberries and blueberries for a red-and-blue presentation and drizzle melted white chocolate if desired. Tips: avoid overmixing the batter, cool completely before slicing, and use gluten-free crumbs for a GF option.
The first time I whipped up these Patriotic Cheesecake Bars, I wasn't planning anything extravagant—just searching for an easy dessert to bring to our neighborhood July bash. The buttery scent of graham crackers and cream cheese drifting through the kitchen ended up luring my kids from the backyard before I was even done. Watching juicy red strawberries and plump blueberries tumble across the pale cheesecake felt like painting in real time. The best part was seeing the bars get swiped off the platter before I could grab a second for myself.
I once made a batch of these cheesecake bars for a backyard Fourth of July picnic and forgot about them under a foil tent until the fireworks started. When I finally brought them out, the chilled bars had kept perfectly—my friends dove right in, happily eating with sticky berry-stained fingers in the dark.
Ingredients
- Graham cracker crumbs: Starting the crust with fine, even crumbs makes pressing into the pan much easier for a smooth base.
- Granulated sugar: Adding a little to the crust and filling aids both flavor and caramelization.
- Unsalted butter: Melted just until liquid, it pulls the graham mixture together and gives that toasty taste.
- Cream cheese: Room temperature cream cheese ensures a lump-free, extra-smooth cheesecake layer.
- Eggs: Incorporate one at a time to keep the batter velvety, not dense.
- Pure vanilla extract: A decent splash of real vanilla lifts everything without overpowering the berries.
- Sour cream: This secret ingredient brings tang and ultra-silky texture.
- Fresh strawberries and blueberries: Their natural sweetness and color are perfect for the festive topping—try to pick ripe, unblemished fruit.
- White chocolate: Optional but fun for drizzling decoratively over the berries just before serving.
Instructions
- Prepare Your Pan:
- Line a 9x9-inch baking pan with parchment, leaving a bit hanging over the edges—trust me, this makes lifting out the bars later so much easier.
- Mix the Crust:
- Combine the graham crumbs, sugar, and melted butter in a bowl, stirring until the texture is like damp sand, then press firmly into an even layer at the bottom of the prepared pan.
- Make Cheesecake Filling:
- Beat the cream cheese and sugar together until fluffy and smooth; add the eggs one at a time, mixing well, then gently fold in the vanilla and sour cream—scrape down the sides for the silkiest batter.
- Assemble and Bake:
- Spread the cheesecake mixture smoothly over the crust and pop it in the oven for 40–45 minutes until the center slightly jiggles and the edges look set.
- Cool and Chill:
- Let the bars cool completely at room temperature, then refrigerate at least 3 hours so everything sets firm and slices cleanly.
- Decorate:
- Scatter the chilled top with fresh berries in a flag or random pattern, then drizzle with melted white chocolate if you like a little extra flair.
- Slice and Serve:
- Lift out the bars using the parchment handles, cut into squares, and serve cold so the filling stays velvety smooth.
 Save
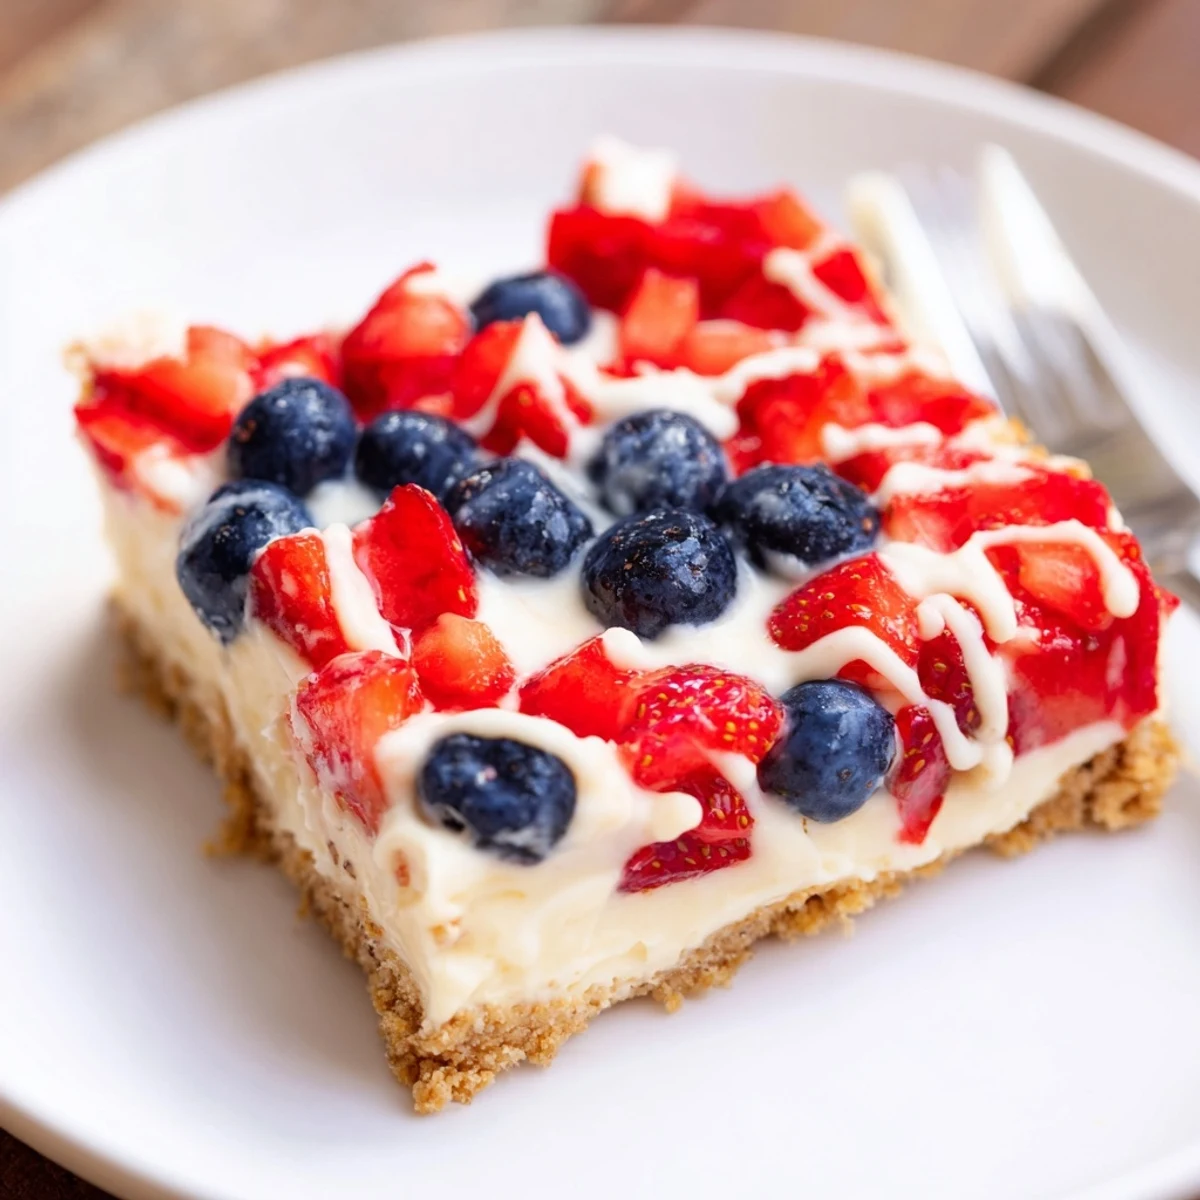
Save I still laugh thinking about the year my cousin insisted on cutting the bars into tiny star shapes for our Independence Day spread—she ended up with a tray full of odd-shaped scraps, but they vanished just as fast as the perfect squares.
Getting Even Slices Every Time
If you want seriously sharp edges on each bar, use a large chef's knife dipped in hot water, wiping between each cut. This little trick gives clean, photo-worthy lines, even if you’re serving them for a crowd of eager hands.
Mixing It Up with Fruit
On occasion, I throw in raspberries or blackberries when strawberries aren't at their peak. The flavor ends up deliciously tart, and the colors really pop for any season—not just July.
Making Ahead for Parties
I’ve discovered these bars are even tastier after a night in the fridge, as the flavors really mellow and blend together. For best results, wait to add the fresh fruit and chocolate on the day you serve.
- A hint of lemon zest in the filling brightens everything up.
- Chill the bars uncovered for the first hour so condensation doesn’t form.
- Always store leftovers tightly wrapped to keep the crust from getting soggy.
 Save
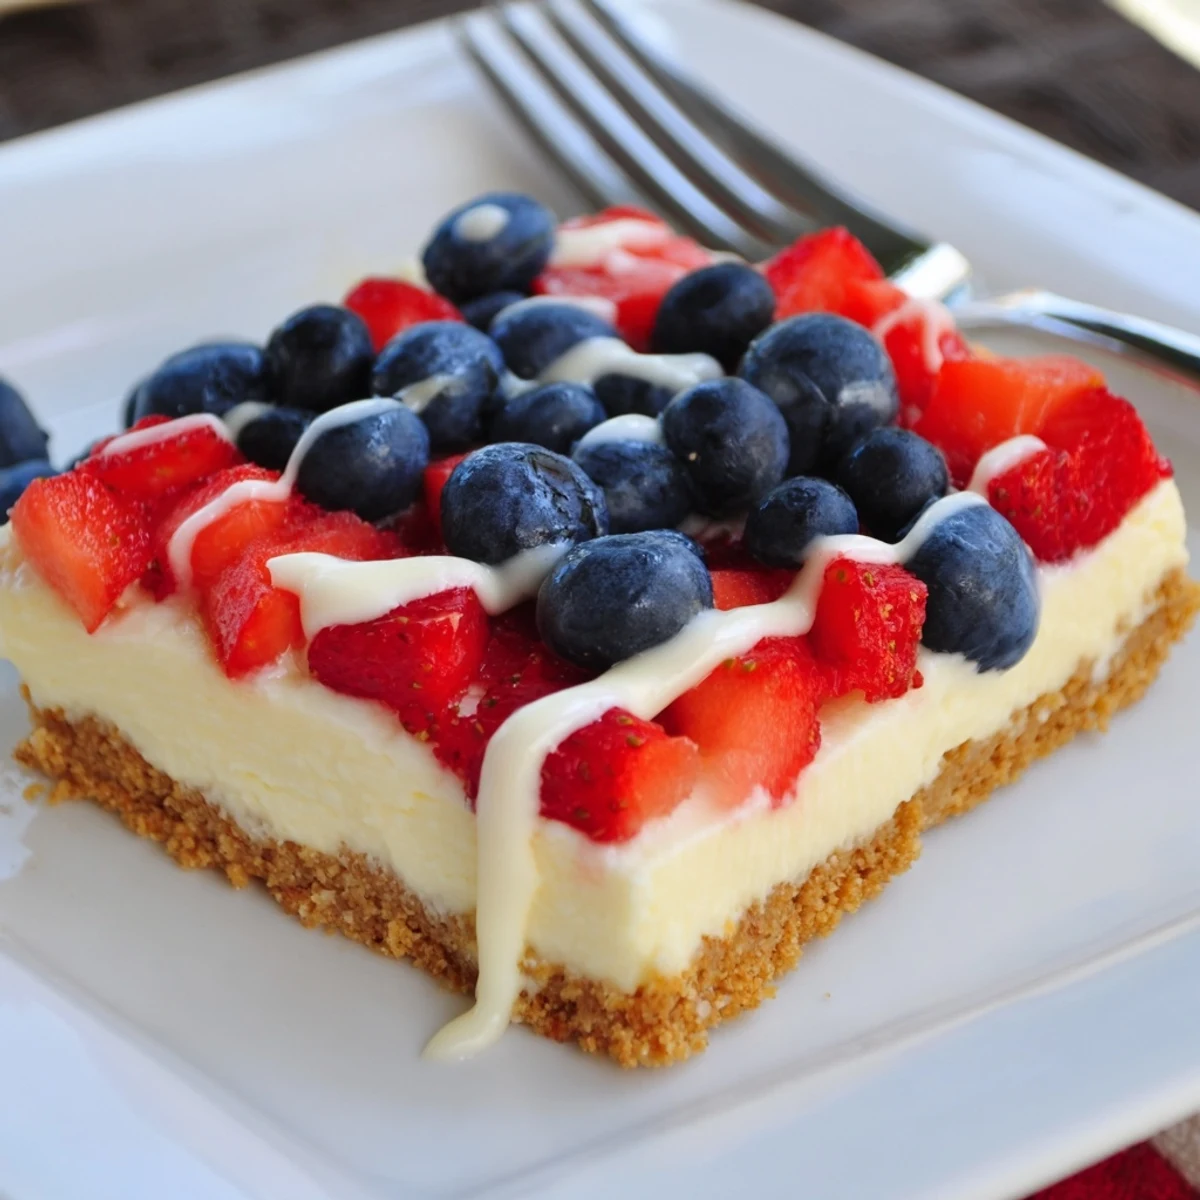
Save However you cut or decorate them, these bars always bring smiles—there’s just something extra joyful about colorful berries on creamy cheesecake. I hope they add a festive note to your next summer gathering.
Recipe Questions
- → How long should the bars cool before slicing?
-
Let the baked bars cool to room temperature, then chill for at least three hours so the filling firms for clean slices.
- → Can I swap the berries for other fruit?
-
Yes. Raspberries or a mix of mixed berries work well; choose firm, ripe fruit so the topping holds up when serving.
- → How do I avoid a cracked filling?
-
Beat the cream cheese until smooth, add eggs one at a time, and avoid overbaking. Remove when the center is just set and allow gradual cooling.
- → What gluten-free substitutes can I use?
-
Replace graham cracker crumbs with certified gluten-free graham crumbs or ground gluten-free cookies for a similar texture.
- → Can these be made ahead of time?
-
Yes. Make up to a day ahead and keep covered in the refrigerator; add fresh berries and any drizzle just before serving for best texture.
- → Is white chocolate necessary for the topping?
-
No. The white chocolate is optional—use it for visual contrast or skip it and let the berries shine.