
 Save
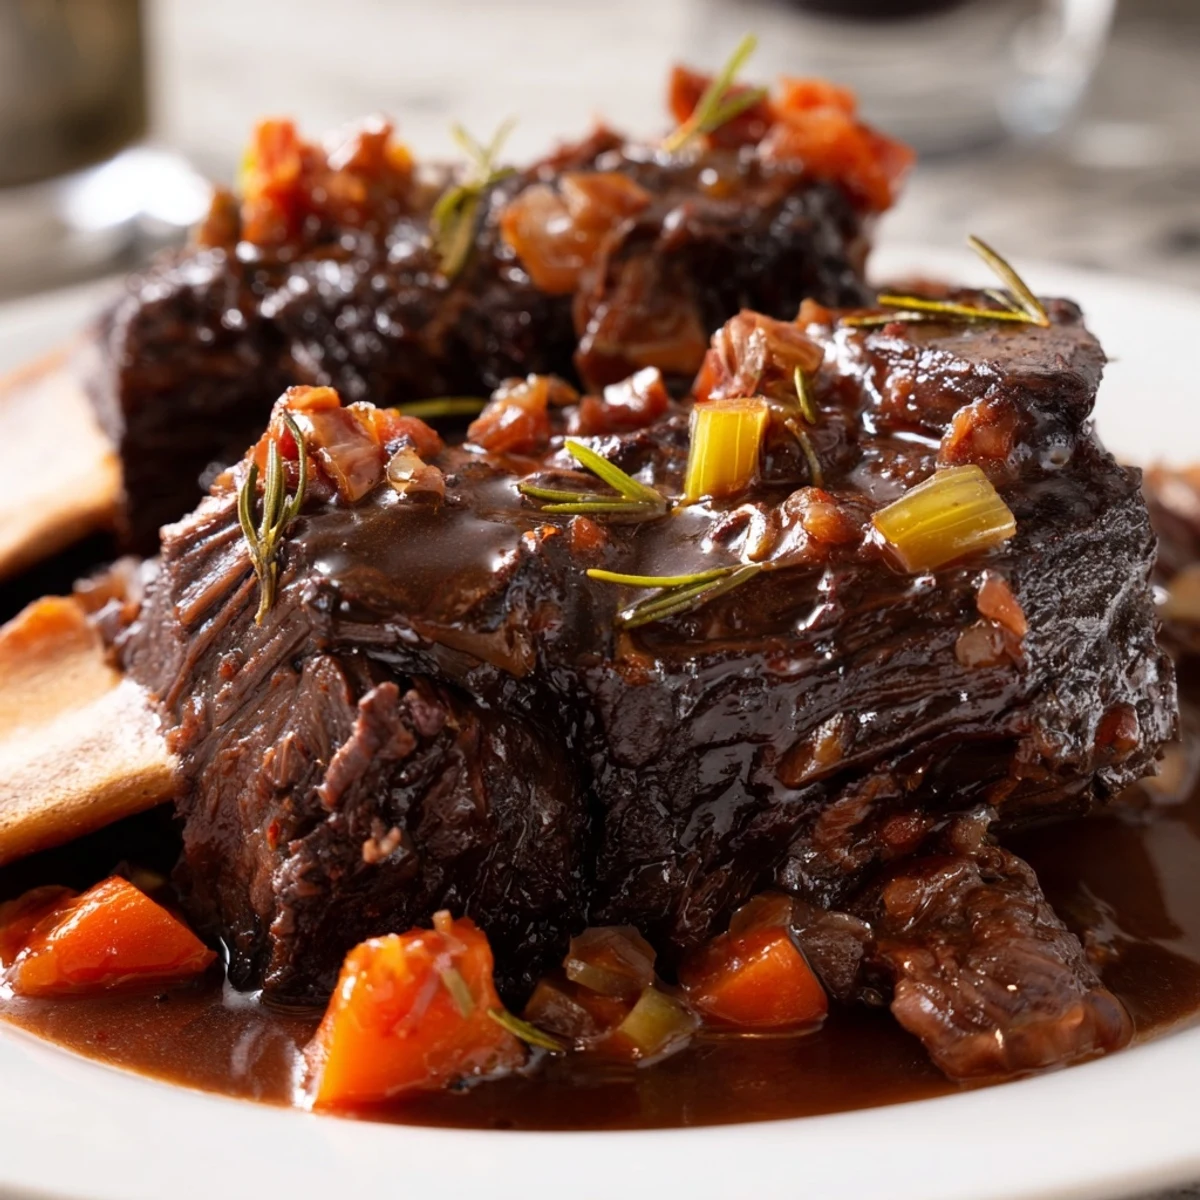
Save These oven-braised beef short ribs are seared to build a rich crust, then slowly braised in a fragrant mixture of red wine, beef broth, carrots, celery, and onion.
After 2.5 to 3 hours in the oven, the meat becomes fork-tender and practically falls off the bone. The braising liquid transforms into a deeply flavorful sauce that pairs beautifully with mashed potatoes, polenta, or crusty bread.
This comforting main course is naturally gluten-free when you verify your broth and wine labels, making it a satisfying option for gatherings and weekend dinners alike.
The rain was hammering against the kitchen window the afternoon I discovered what oven braising could truly do to a short rib. I had walked past them at the butcher for years, always defaulting to familiar cuts, until the butcher himself slid a tray across the counter and told me I had been depriving myself. Three hours later, the entire house smelled like a restaurant I could not afford, and I was pulling bones clean with nothing but a fork.
I made these for my sister the night she moved into her first apartment, half the dining room still stacked with boxes. She sat cross legged on the floor with a bowl balanced on her knee, sauce on her chin, and declared it the best housewarming gift anyone had ever given her.
Ingredients
- Beef short ribs (4 lbs, bone in): Bone in is non negotiable here because the marrow melts into the sauce and creates a depth of flavor boneless ribs simply cannot match.
- Carrots (2 medium, diced): They add a subtle sweetness that balances the wine and balances the richness of the beef.
- Celery (2 stalks, diced): An unsung hero that provides an earthy backbone to the aromatics.
- Yellow onion (1 large, diced): Dice it small so it melts into the braise rather than floating in chunks.
- Garlic (4 cloves, minced): Fresh garlic only, the jarred stuff loses its punch after hours in the oven.
- Dry red wine (1 cup): Use something you would actually drink because you can taste a bad wine more after it reduces.
- Beef broth (2 cups, gluten free if needed): This is what keeps the meat submerged and braising steadily, so choose a quality brand.
- Tomato paste (1 tbsp): A small amount that adds a concentrated savoriness and helps deepen the color of the sauce.
- Fresh rosemary (2 sprigs): Fresh herbs are critical here because dried rosemary turns resinous and bitter during a long braise.
- Fresh thyme (3 sprigs): Thyme and beef have a natural affinity that has been proven for centuries in French cooking.
- Bay leaves (2): Drop them in whole and remember to fish them out before serving because biting into one is unpleasant.
- Salt and black pepper: Season the ribs generously before searing because that crust is where a lot of the final flavor begins.
- Olive oil (2 tbsp): Just enough to get a good sear without the ribs swimming in fat.
Instructions
- Preheat and prepare:
- Set your oven to 325 degrees Fahrenheit and move a rack to the lower third so the Dutch oven sits evenly surrounded by heat.
- Season the ribs:
- Pat every surface of the short ribs bone dry with paper towels, then coat all sides generously with salt and pepper as if you were seasoning a steak.
- Build the crust:
- Heat olive oil in a large Dutch oven over medium high heat until it shimmers, then sear the ribs in batches without crowding until each side wears a deep golden brown crust, roughly 2 to 3 minutes per side, and transfer them to a plate.
- Soften the aromatics:
- In the same pot with all those rendered juices, tumble in the diced carrots, celery, and onion, stirring until they soften and begin to caramelize at the edges, about 5 minutes, then stir in the garlic and tomato paste for one more minute until fragrant.
- Reduce the wine:
- Pour in the red wine and scrape up every last brown bit stuck to the bottom of the pot because that is concentrated flavor, then let it boil until it reduces by half, about 5 minutes.
- Build the braise:
- Nestle the seared ribs back into the pot, pour in the beef broth, and tuck the rosemary, thyme, and bay leaves around the meat until the liquid comes up almost but not quite to the top of the ribs.
- Braise low and slow:
- Bring everything to a gentle simmer on the stovetop, clamp on the lid, and slide the whole pot into the oven for 2.5 to 3 hours until the meat yields to a fork and literally slides off the bone.
- Finish the sauce:
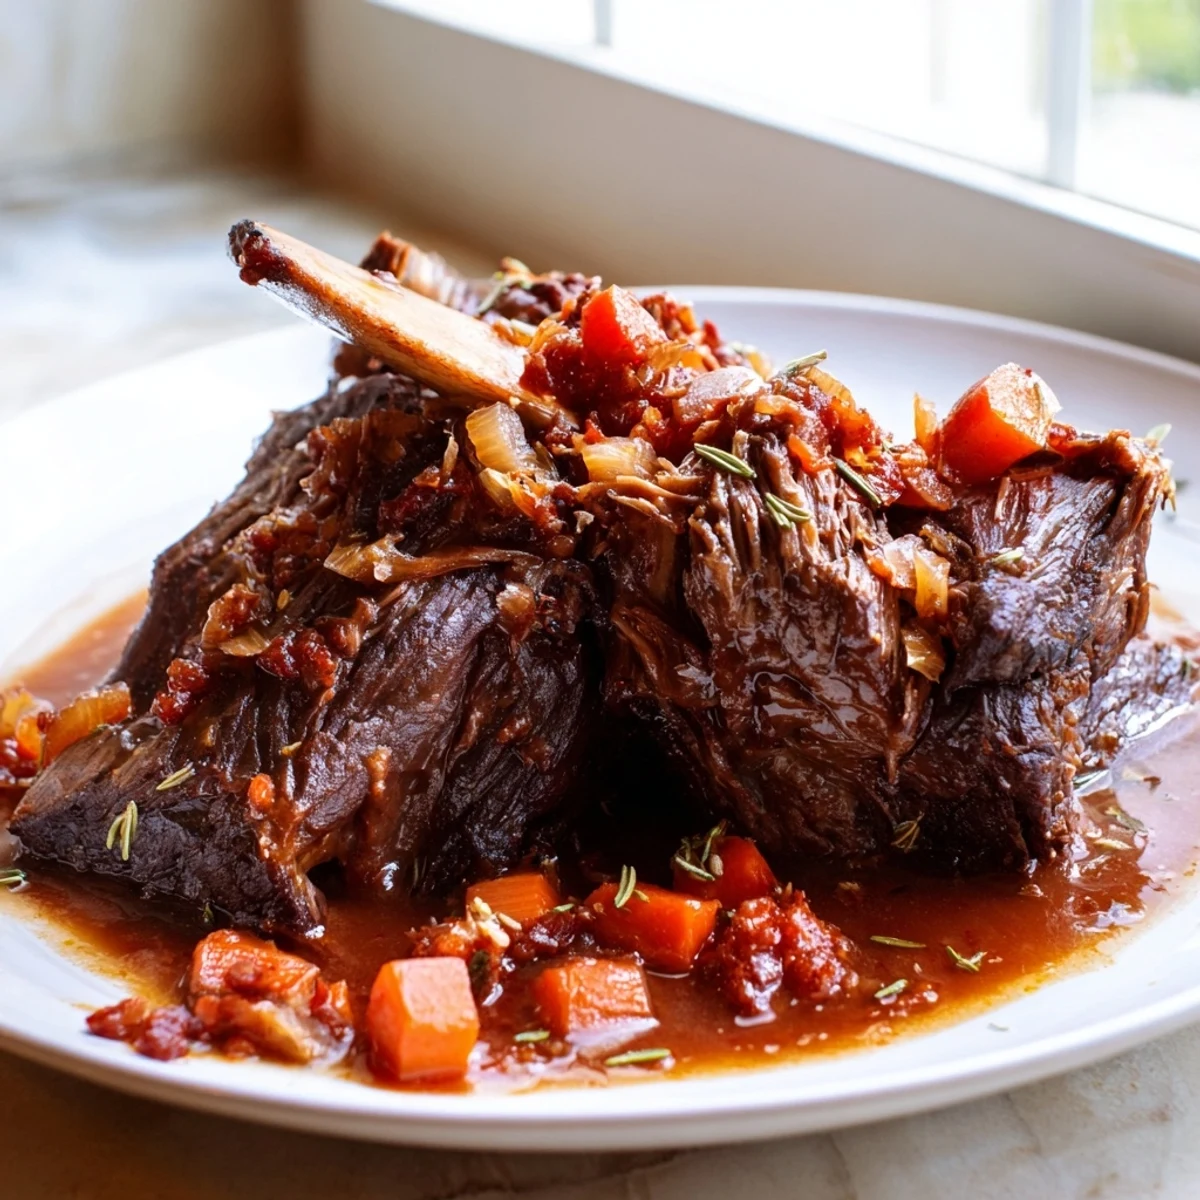
- Carefully lift the ribs and vegetables out with tongs, skim the pool of fat from the surface of the remaining liquid, discard the herb sprigs and bay leaves, and spoon the glossy sauce over the ribs when you serve.
 Save
Save There is something quietly powerful about a pot that transforms a tough inexpensive cut into something worthy of a celebration. These ribs have a way of turning an ordinary Tuesday into the kind of evening you remember.
What to Serve Alongside
Mashed potatoes are the classic answer and for good reason because they act as a soft landing pad for every spoonful of sauce. Creamy polenta works just as beautifully and adds a subtle corn sweetness. A thick slice of crusty bread is the simplest option and honestly sometimes the most satisfying because you can mop the plate clean.
Overnight Marinade Option
If you have the foresight the night before, tuck the raw seasoned ribs into a container with the red wine, herbs, and a few crushed garlic cloves and let it all rest in the refrigerator. The next day the meat will have absorbed a deeper layer of flavor that makes the finished dish noticeably more complex. Just pat the ribs dry again before searing so you still get that critical crust.
Tools You Will Want Ready
A large Dutch oven with a tight fitting lid is the single most important piece because it conducts heat evenly and traps the moisture that makes the braise work. Beyond that, keep a sharp knife, a sturdy cutting board, tongs for turning the ribs, and a ladle for skimming and saucing. A few humble tools for a dish that tastes like it required far more.
- Make sure your Dutch oven is truly oven safe including the knob on the lid.
- Have a large plate ready before you start searing because the ribs come out hot and heavy.
- Trust the timing and do not rush the braise, the oven is doing the work for you.
 Save
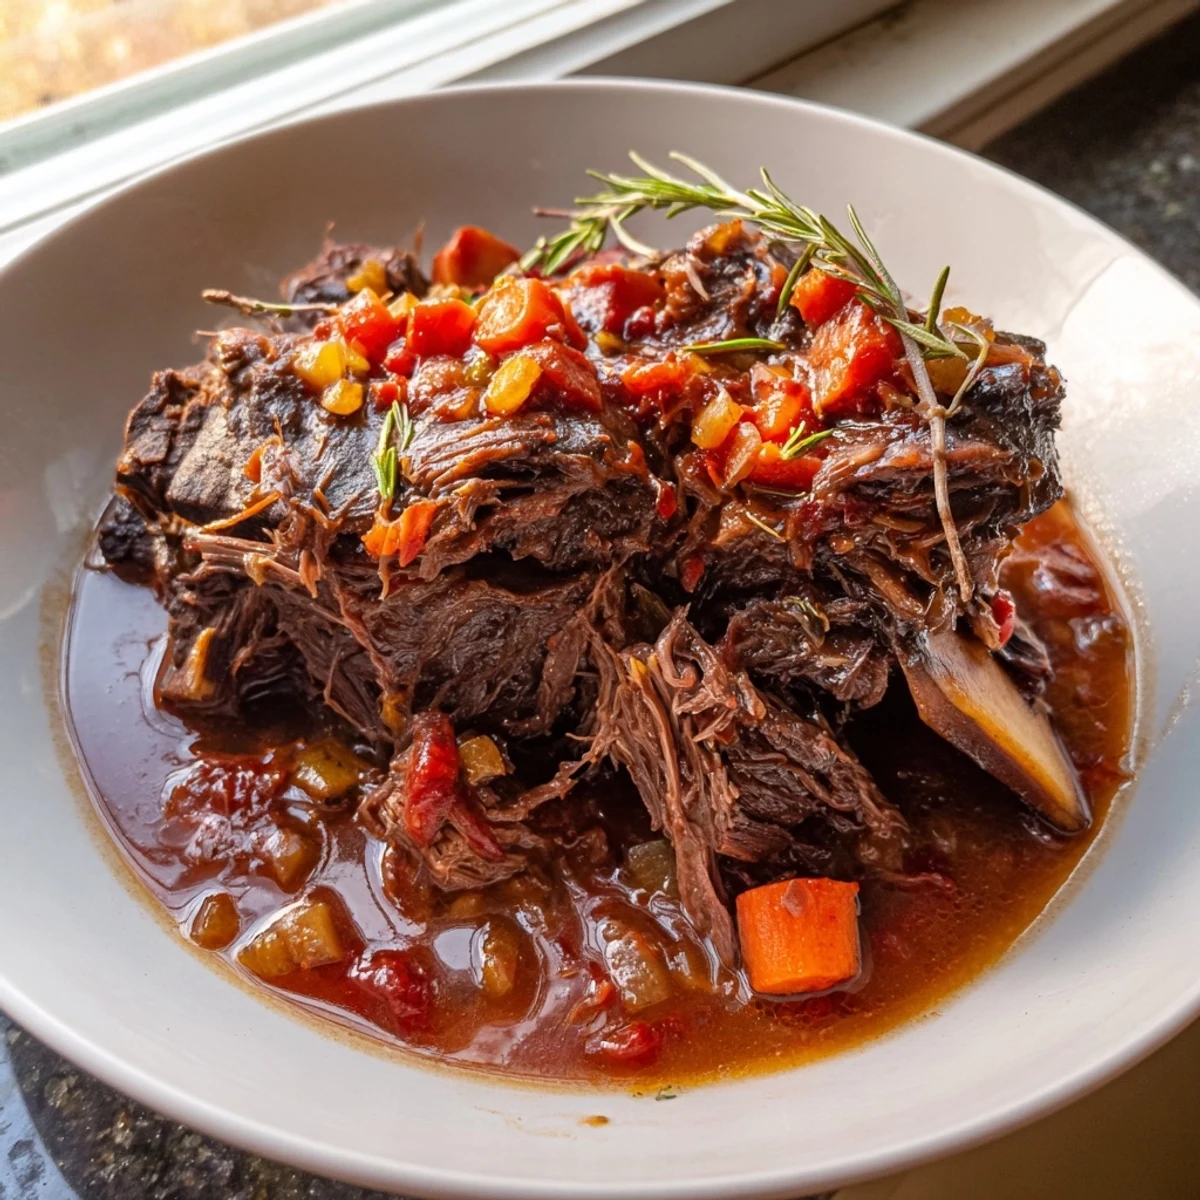
Save Cook these once and they will become the dish you reach for when someone needs to feel taken care of. That is the quiet magic of a good braise, simple ingredients, patient heat, and a meal that speaks louder than words.
Recipe Questions
- → What cut of beef works best for braising?
-
Bone-in beef short ribs are ideal for braising because the bone adds richness and the connective tissue breaks down into gelatin during the long cook, creating tender, succulent meat.
- → Can I make this without red wine?
-
Yes, you can substitute the red wine with additional beef broth. The flavor will be slightly less complex, but still deeply satisfying. Adding a splash of balsamic vinegar can help mimic some of the acidity wine provides.
- → Why do I need to sear the ribs before braising?
-
Searing creates a caramelized crust through the Maillard reaction, which adds layers of flavor that permeate the entire dish during braising. This step is essential for building a rich, complex sauce.
- → What temperature should the oven be for braising?
-
325°F (160°C) is the ideal temperature. This low and slow approach allows the tough connective tissue in the short ribs to break down gradually without overcooking the meat, resulting in fork-tender texture.
- → How do I know when the short ribs are done?
-
The ribs are ready when a fork slides into the meat with no resistance and the meat is easily pulling away from the bone. This typically takes 2.5 to 3 hours at 325°F.
- → Can I prepare this a day ahead?
-
Absolutely. In fact, braised short ribs often taste better the next day because the flavors have more time to meld. Refrigerate overnight, then gently reheat on the stovetop or in a 300°F oven until warmed through.
- → What should I serve with braised short ribs?
-
Creamy mashed potatoes, soft polenta, or crusty bread are excellent choices. These sides soak up the rich braising sauce beautifully and complement the tender, flavorful meat.