 Save
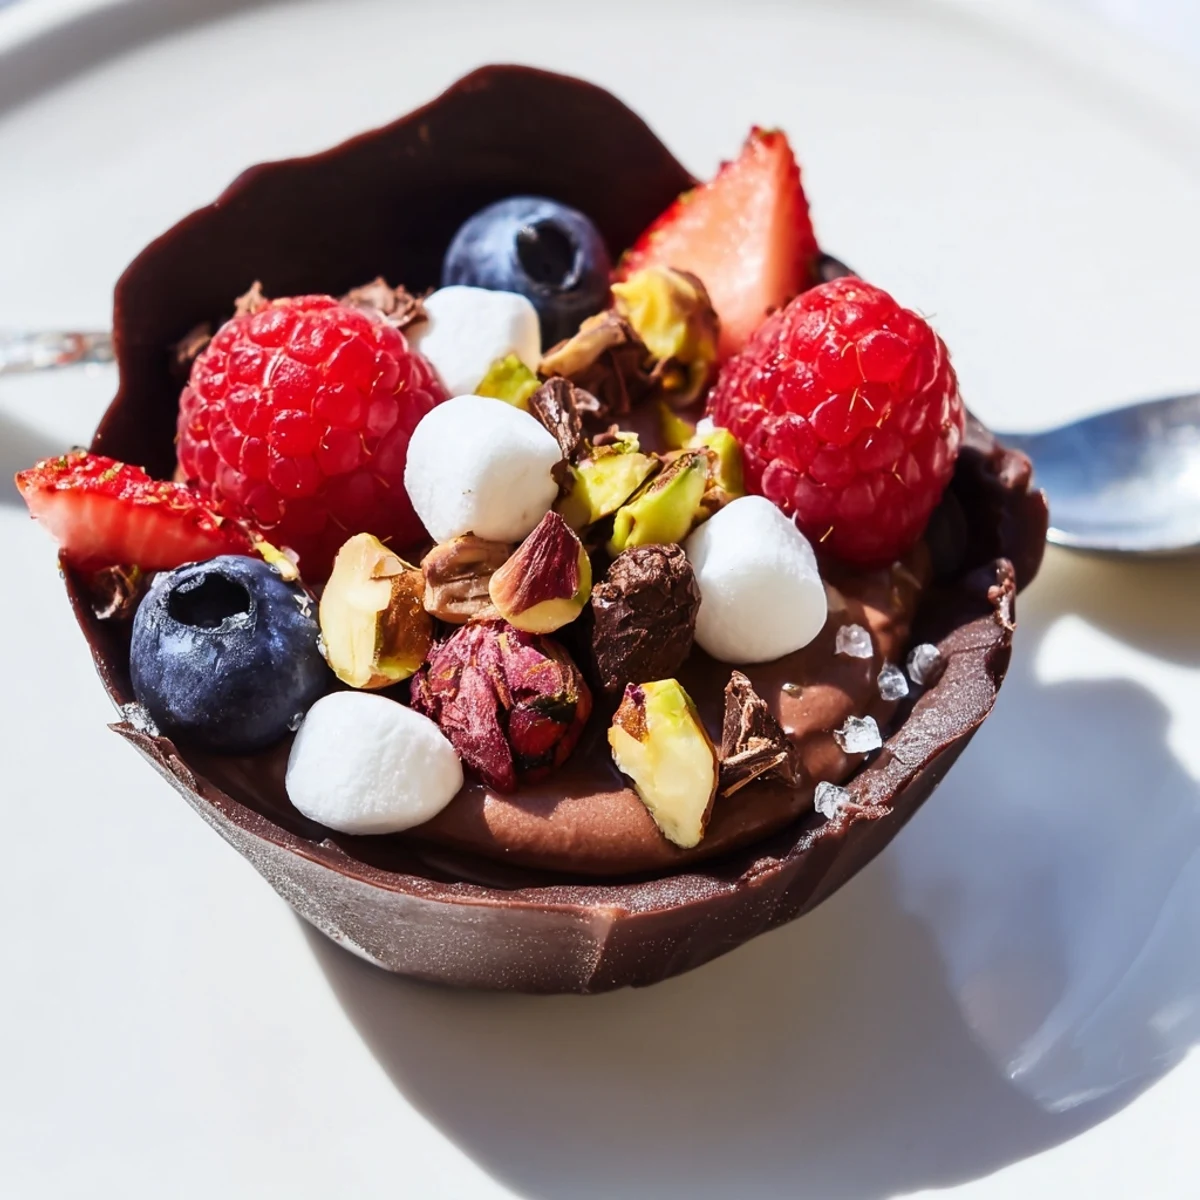
Save These elegant chocolate grazing cups combine the indulgence of rich dark chocolate mousse with fresh, vibrant berries and satisfying crunchy toppings. The homemade chocolate cups provide a stunning edible vessel that elevates any dessert table. Each cup offers a perfect balance of creamy, tart, and crisp textures, making them ideal for dinner parties, weddings, or special celebrations. The vegetarian-friendly treat comes together in just over an hour and serves six generous portions.
The first time I made chocolate cups, I stood in my kitchen at midnight, chocolate smeared on my cheek like a proud child, realizing Id just created something that looked like it belonged in a fancy patisserie window. My roommate walked in, stared at the glossy cups lined up on the counter, and asked if Id secretly enrolled in culinary school. That moment of surprise—seeing how something so impressive could emerge from such simple ingredients—still makes me smile every time I make them.
Last Valentine's Day, I made a batch for my book club, and the conversation completely stopped when I brought out the tray. Everyone was too busy taking photos and exclaiming over the edible gold to discuss the novel. One friend confessed she felt so special eating something that looked so precious, like dessert jewelry. Thats the magic of these cups—they turn ordinary moments into celebrations.
Ingredients
- Dark chocolate (at least 60% cocoa): The higher cocoa percentage gives your cups structure and that sophisticated bittersweet depth that balances the sweet mousse
- Heavy cream: Cold cream whips up beautifully—the chill is non-negotiable for achieving those cloud-like peaks
- Powdered sugar: Dissolves seamlessly into the cream without any grainy texture
- Vanilla extract: Pure vanilla makes everything taste more expensive and aromatic
- Fresh mixed berries: The tart fruit cuts through all that rich chocolate like a bright knife
- Chopped nuts: Toast them first if you want that extra nutty fragrance to waft up when someone takes a bite
- Mini marshmallows: Add playful texture and nostalgia
- Chocolate curls: Use a vegetable peeler on a room-temperature chocolate bar for effortless elegant shavings
Instructions
- Craft the chocolate cups:
- Melt the chocolate until it flows like warm honey, then paint the insides of your cupcake liners with deliberate strokes. Let them set in the fridge until they release with a satisfying pop, leaving behind perfect edible vessels.
- Whip up the mousse:
- Fold that cooled melted chocolate into your whipped cream with the gentleness of a morning stretch, barely disturbing the air youve worked so hard to incorporate.
- Bring everything together:
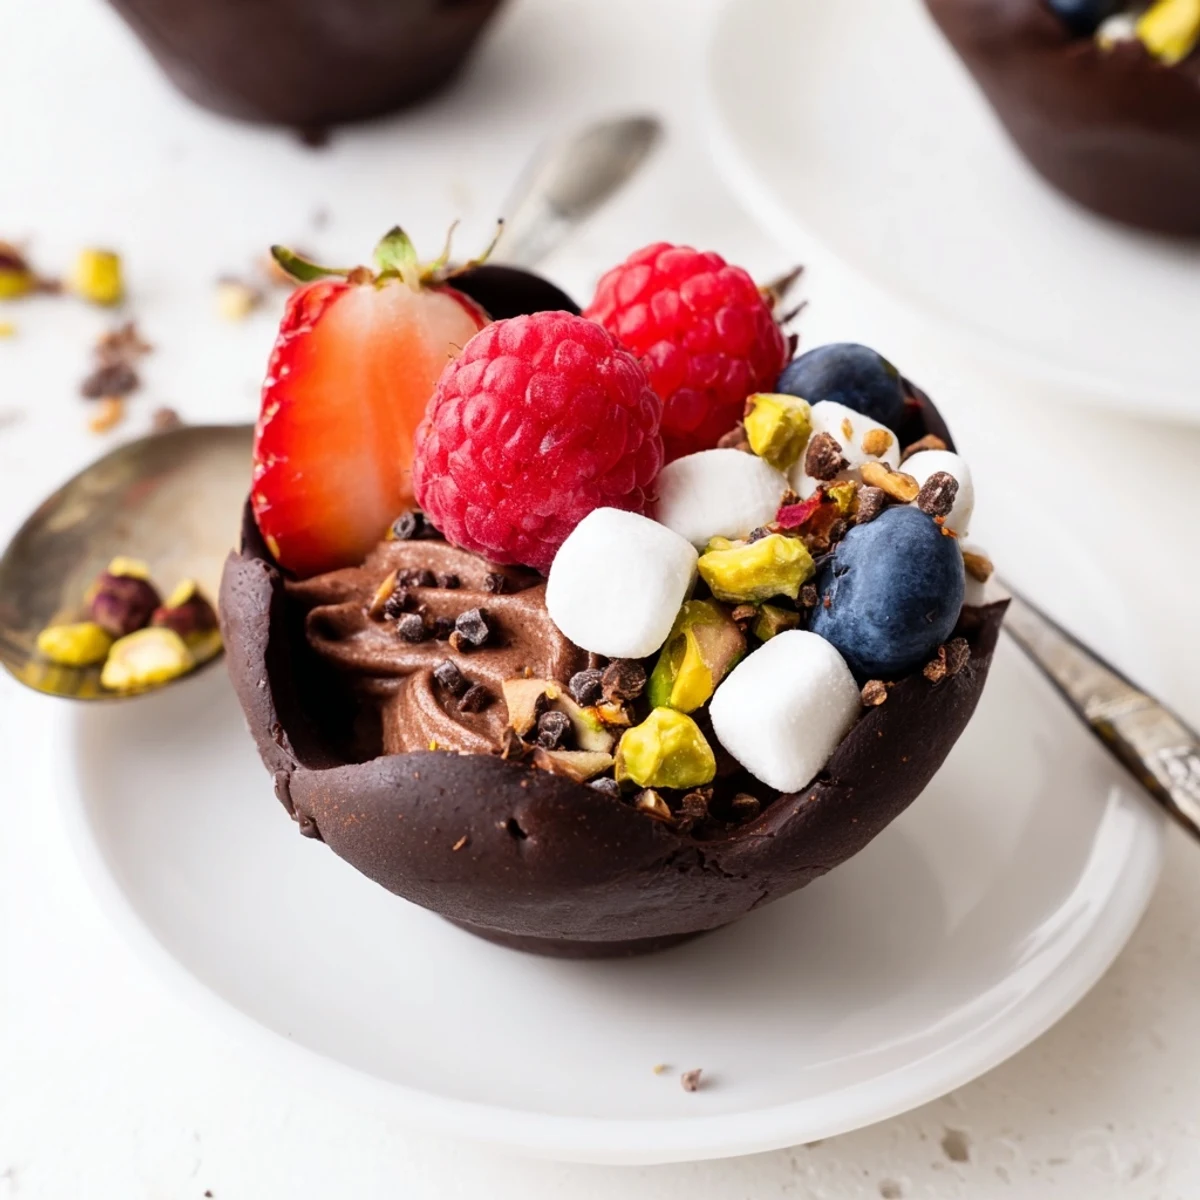
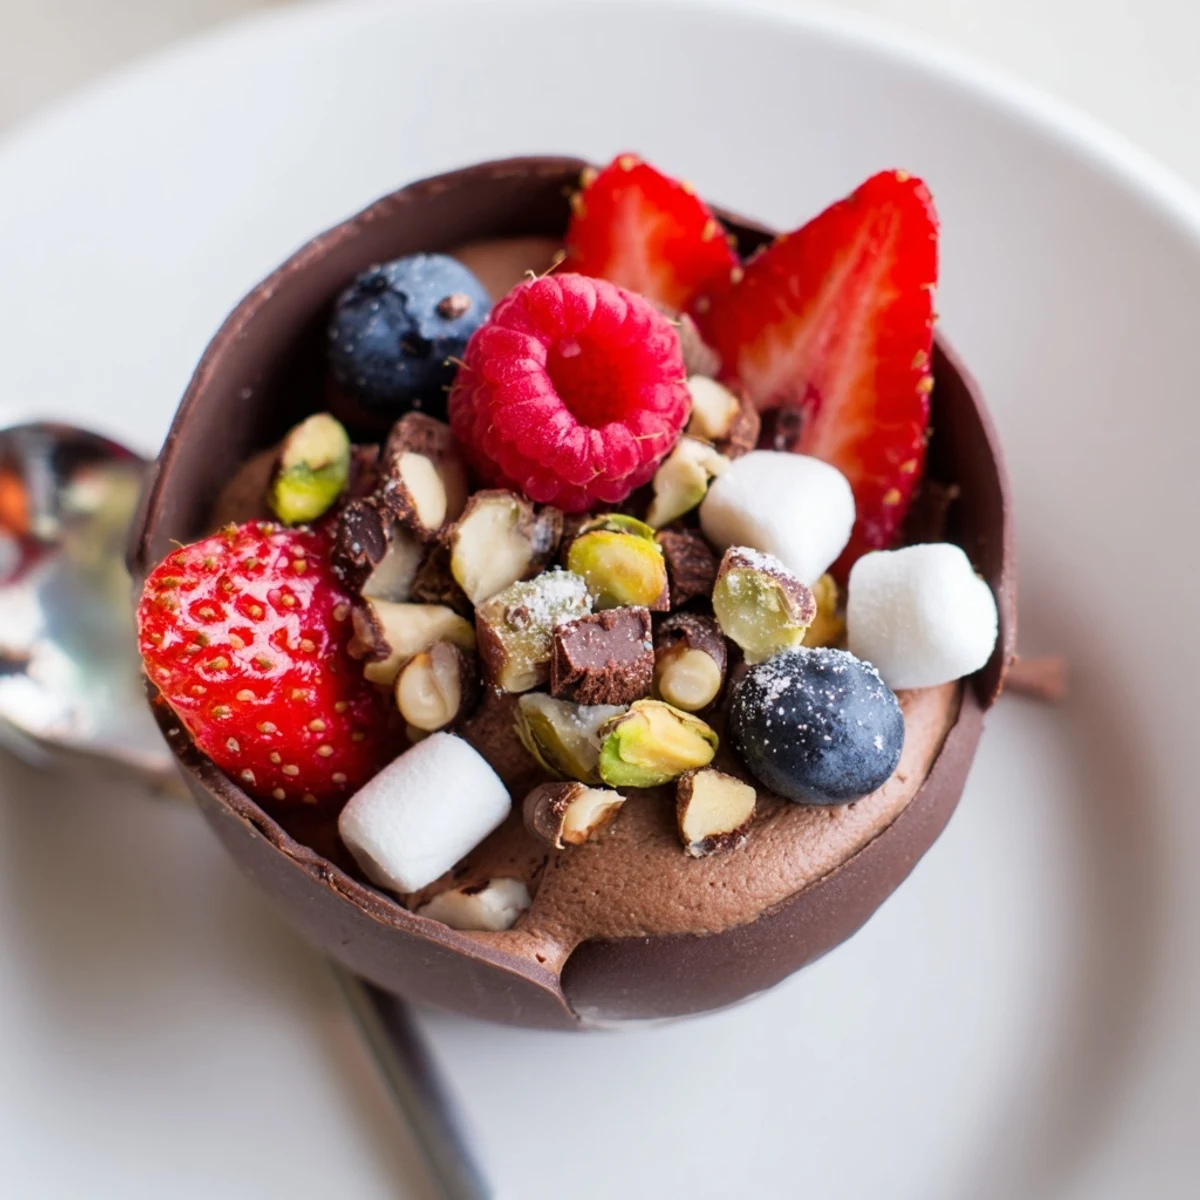
- Fill each chocolate cup two-thirds full with mousse, then pile on the toppings like youre decorating a tiny edible landscape.
- Final chill:
- Let everything get friendly in the refrigerator for at least 20 minutes so the flavors can settle into each other.
 Save
Save My niece asked if she could help with the toppings last Thanksgiving, and her serious concentration placing each raspberry just so made these cups even more meaningful. She beamed when everyone oohed and aahed over our collaborative dessert art. Sometimes the best recipes are the ones that pull people into the kitchen with you.
Making Ahead Like a Pro
The chocolate cups can be made up to three days in advance if stored in an airtight container between layers of parchment paper. The mousse holds its texture beautifully for 24 hours in the fridge, though I recommend adding the fresh berries and marshmallows no more than an hour before serving so they stay perky and fresh.
Chocolate Temperature Secrets
Ive learned that melting chocolate slowly over barely simmering water, with the bowl never actually touching the water, prevents that heartbreaking moment when chocolate suddenly seizes into grainy disappointment. Patience with the melting process pays off in that perfectly glossy finish.
Presentation Ideas That Wow
Arrange the cups on a rustic wooden board or a mirror tile to double their elegance factor. Consider creating a grazing station with small bowls of extra toppings so guests can customize their final bite. The visual impact of a well-styled dessert table is half the joy of entertaining.
- Keep a few extra chocolate cups on hand in case any break during unmolding
- Room temperature toppings are easier to work with than cold ones straight from the fridge
- The garnishes should be visible from above—think in 3D, not just from the side
 Save
Save There is something deeply satisfying about eating an entirely edible dessert—no waste, no plate needed, just pure indulgence in your hands. These cups remind me that the most elegant things in life are often just simple pleasures assembled with a little extra care.
Recipe Questions
- → How far in advance can I make these chocolate cups?
-
The chocolate cups and mousse can be prepared up to 24 hours in advance. Store the cups and mousse separately in the refrigerator, then assemble and garnish shortly before serving for the freshest presentation and texture.
- → Can I use white chocolate instead of dark chocolate?
-
Absolutely! White or milk chocolate works beautifully for both the cups and mousse. Keep in mind that white chocolate has a higher sugar content and melts faster, so work quickly when coating the liners and chill thoroughly.
- → What if I don't have silicone cupcake liners?
-
You can use paper cupcake liners, small silicone molds, or even create free-form cups using inverted bowls lined with parchment. Paper liners work well but may leave a slight texture on the chocolate surface.
- → How do I prevent the chocolate cups from cracking when removing liners?
-
Ensure the chocolate is completely chilled and set before attempting to peel off the liners. Work gently and slowly, peeling from the top edge downward. If the chocolate feels soft, return to the refrigerator for additional time.
- → Can I add alcohol to the mousse?
-
Yes! A splash of orange liqueur, coffee liqueur, or even a berry-flavored spirit adds sophisticated depth. Add about 1-2 tablespoons during the mousse preparation step, folding it in gently with the melted chocolate before combining with whipped cream.
- → What other toppings work well with these cups?
-
Consider crushed cookies, toasted coconut flakes, caramelized nuts, fresh mint leaves, pomegranate seeds, or even shaved white chocolate contrast. Seasonal fruits, citrus zest, and crushed pretzels for sweet-salty variation also make excellent toppings.