 Save
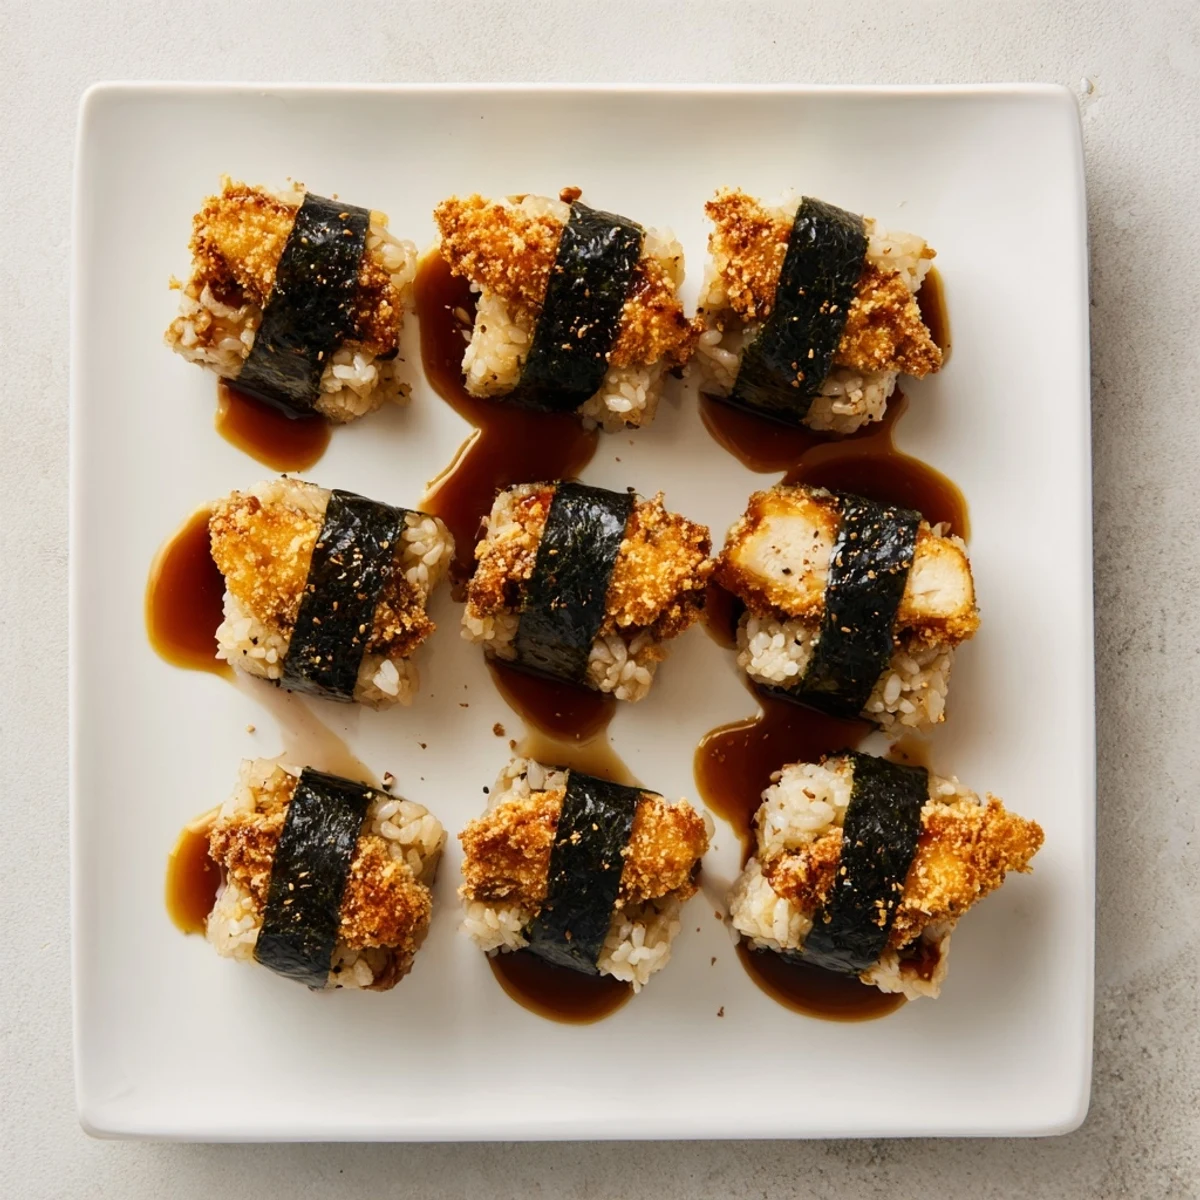
Save This Hawaiian-Japanese fusion combines crispy panko-coated chicken thighs with vinegared short-grain rice and a sweet-savory tonkatsu-soy glaze. Each musubi gets wrapped in nori for easy eating. The chicken is pounded thin, dredged through flour, egg, and panko, then fried until golden. Warm rice gets seasoned with rice vinegar, sugar, and salt for authentic flavor. Assembly involves layering rice, chicken, more rice, then wrapping tightly with nori. Best enjoyed fresh while the nori is crisp and chicken stays crunchy. Perfect for lunchboxes, picnics, or snacks.
The first time I bit into chicken katsu musubi at a beach potluck in Oahu, the crunch of panko against soft rice and salty nori stopped me mid-conversation. I spent the next month obsessively recreating that texture contrast in my tiny apartment kitchen, my roommates wandering in whenever the frying started.
My friend's daughter calls these chicken sushi burgers and requests them for every birthday party. I've learned to triple the recipe because the assembly line inevitably becomes a group activity, everyone grabbing strips of chicken while I frantically press rice.
Ingredients
- 2 boneless skinless chicken thighs: Thighs stay juicier through the fry and press better than breast meat
- 1/2 teaspoon salt and 1/4 teaspoon black pepper: Simple seasoning that lets the panko shine
- 1/2 cup all-purpose flour: The first crucial layer for breading adherence
- 1 large egg whisked with 1 tablespoon milk: The glue that holds everything together
- 1 cup panko breadcrumbs: Japanese breadcrumbs create that signature shattering crunch
- 2 cups warm short-grain Japanese rice: Warm rice compresses better and sticks to itself
- 1 tablespoon rice vinegar, 1/2 teaspoon sugar, 1/2 teaspoon salt: The simplest sushi-style seasoning
- 2 tablespoons tonkatsu sauce mixed with 1 tablespoon soy sauce and 1 teaspoon honey: A slightly sweeter, tangier version than plain tonkatsu
- 4 sheets nori halved: Cut these before you start assembling everything
Instructions
- Pound and season the chicken:
- Use a meat mallet or heavy pan to pound thighs to even thickness, then season both sides generously with salt and pepper.
- Set up your breading station:
- Arrange flour in one shallow dish, the egg mixture in another, and panko in a third for easy assembly line work.
- Coat the chicken thoroughly:
- Dredge each thigh in flour, shake off excess, dip in egg, then press firmly into panko to ensure complete coverage.
- Fry to golden perfection:
- Heat about 1/2 inch vegetable oil in a skillet over medium heat and fry chicken 3-4 minutes per side until deeply golden and cooked through.
- Rest and slice:
- Drain fried chicken on paper towels for 5 minutes, then slice into strips sized to fit your musubi mold or desired shape.
- Season the warm rice:
- Mix rice vinegar, sugar, and salt until dissolved, then gently fold through warm rice without crushing the grains.
- Whisk the sauce:
- Combine tonkatsu sauce, soy sauce, and honey in a small bowl until smooth and slightly thickened.
- Prepare your assembly station:
- Lay out plastic wrap, nori sheets shiny side down, a small bowl of water for wetting hands, and all your components within reach.
- Press the first rice layer:
- With wet hands, press about 1/4 cup seasoned rice into a compact rectangle slightly smaller than your nori sheet.
- Build the layers:
- Add chicken katsu, drizzle with sauce, then top with another thin layer of rice, pressing gently but firmly.
- Wrap and compress:
- Fold the nori around the filling using the plastic wrap to tightly compress and seal the musubi into a neat rectangle.
- Let them rest briefly:
- Allow musubi to sit for 2-3 minutes so the nori softens slightly and everything holds together when sliced.
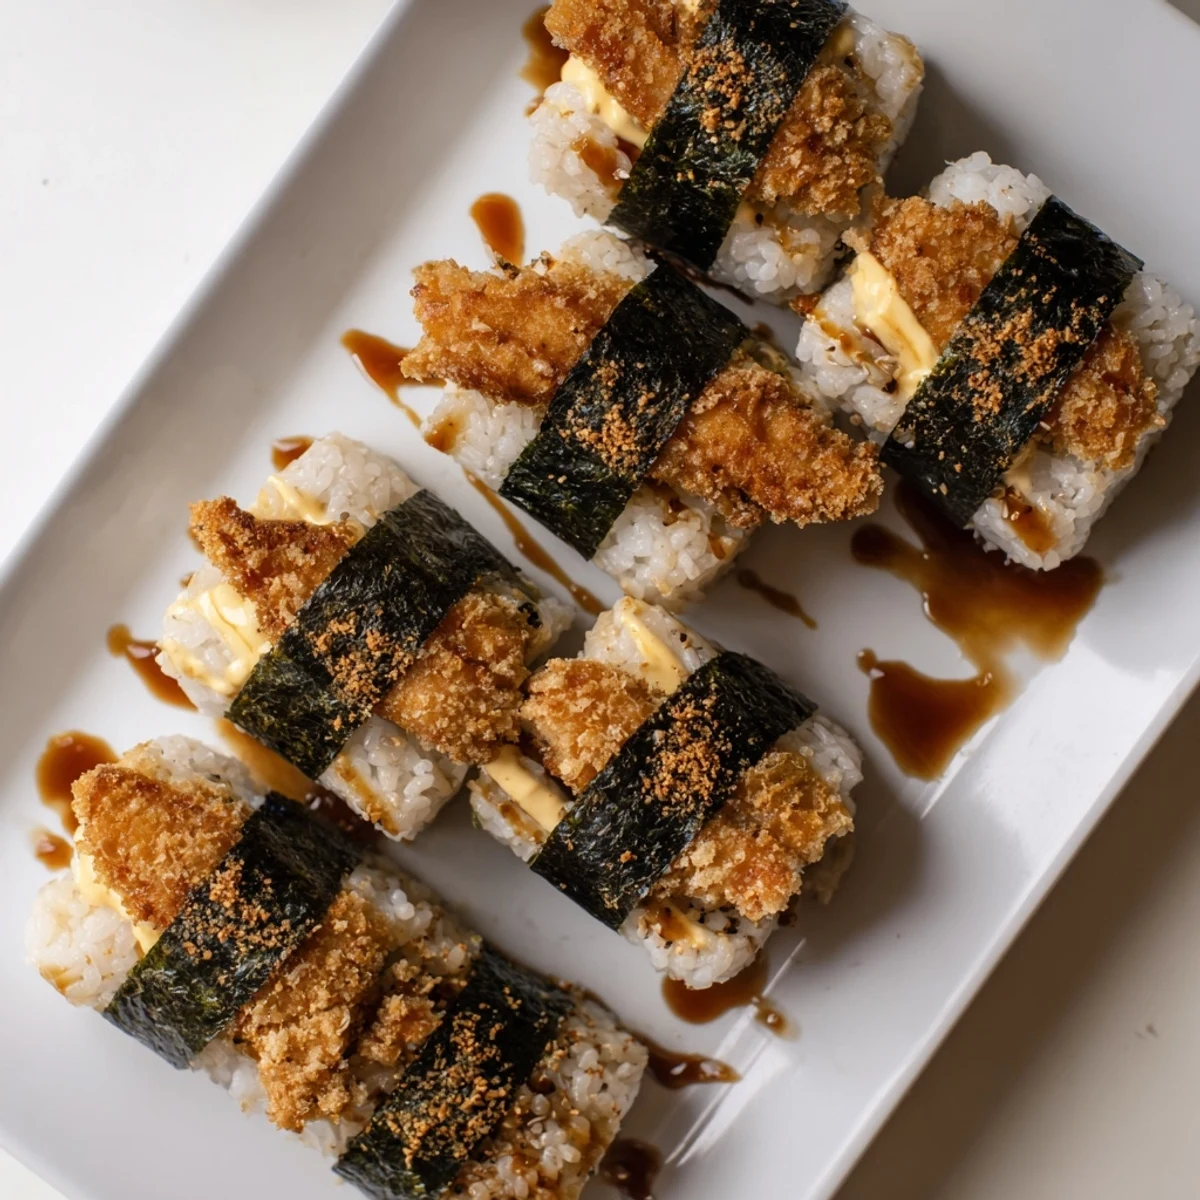 Save
Save These became my go-to beach food after a disastrous attempt at packing sandwiches that turned into soggy bread. There is something deeply satisfying about eating protein and rice with your hands while watching waves, nori fluttering in the breeze.
Make-Ahead Magic
I prep all components the night before and keep them separate. The chicken crisps up beautifully in a toaster oven the next morning, and room-temperature rice actually assembles easier than hot.
Sauce Variations
My neighbor swears by adding sriracha to the sauce mixture for heat, while her grandmother makes a version with grated ginger and minced garlic. Start with the base recipe and adjust until it tastes like home.
Assembly Tips That Save Time
After years of struggling with free-form musubi, I finally invested in a simple rectangular mold. The difference in uniformity and speed is remarkable, though perfectly acceptable results come from using an empty Spam can with both ends removed.
- Set up an assembly line with all components before you start
- Keep a small bowl of water nearby for constantly wetting your hands
- Press firmly but gently to avoid compacting the rice into a hard brick
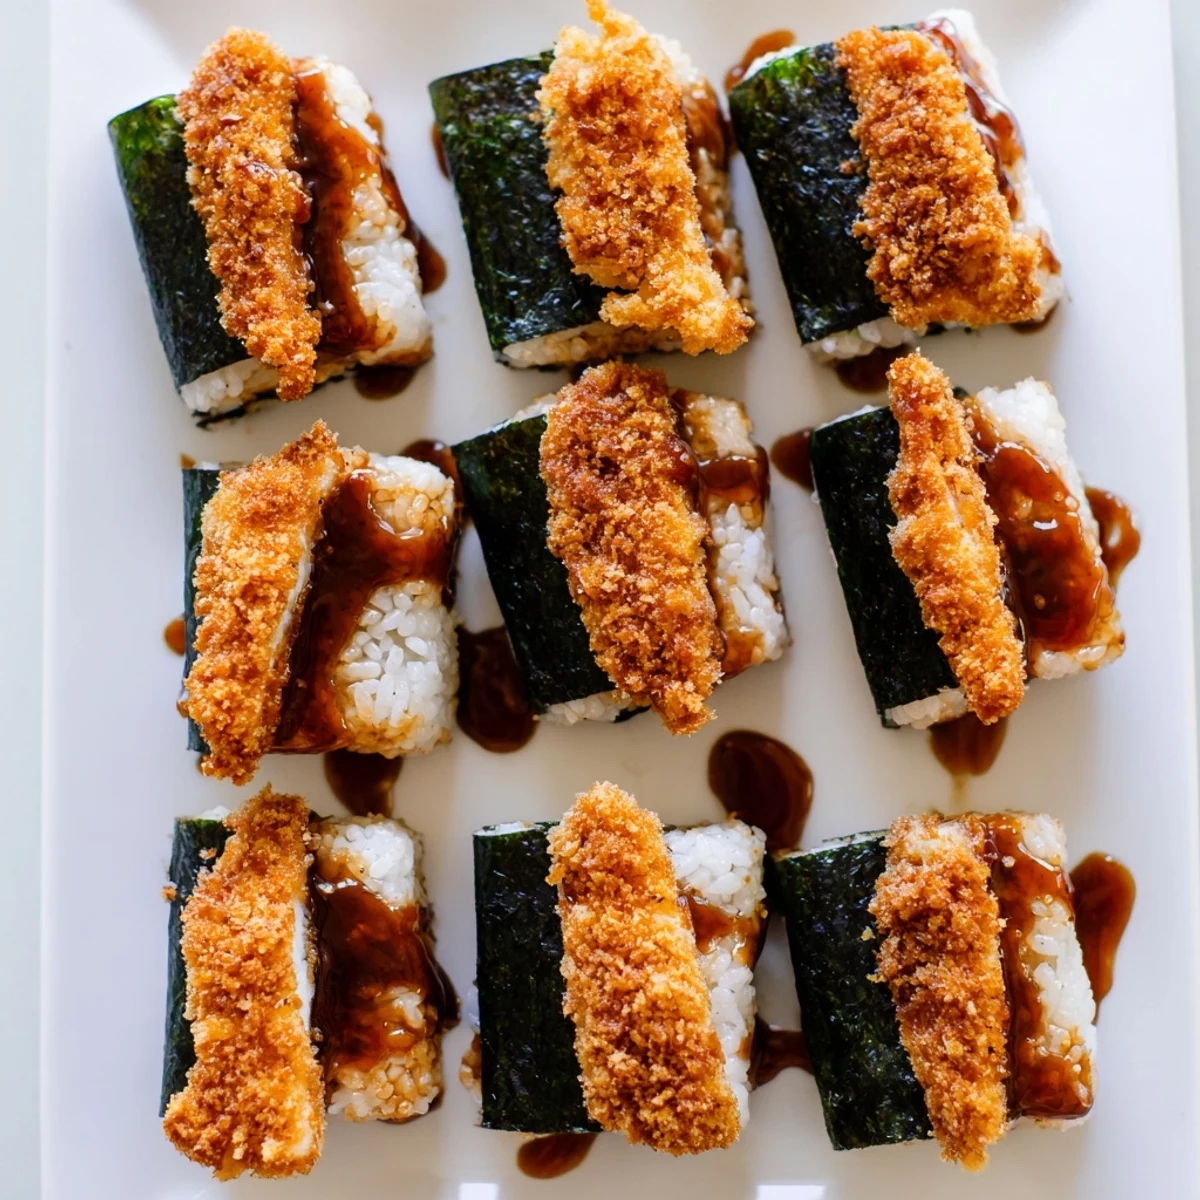 Save
Save Sometimes the simplest portable foods become the ones we reach for most often. These musubi have traveled with me to beaches, road trips, and midnight study sessions, always delivering that perfect contrast of textures.
Recipe Questions
- → What makes musubi different from sushi?
-
Musubi uses pressed rice blocks often topped with proteins and wrapped in nori, unlike sushi's hand-rolled or vinegared preparations. The rice format and assembly method create distinct textures and portability.
- → Can I make chicken katsu musubi ahead of time?
-
Yes, assemble and refrigerate wrapped in plastic for up to 24 hours. The nori will soften over time. For best texture, pack the sauce separately and drizzle just before eating.
- → What's the best rice for musubi?
-
Short-grain Japanese rice (sushi rice) works best because its sticky texture holds together when pressed. Long-grain varieties crumble and won't maintain the compact shape needed for neat assembly.
- → How do I get the crispiest chicken katsu?
-
Pound chicken to even thickness, let panko-coated pieces rest 10 minutes before frying, and maintain oil at 350°F. For extra crunch, double-fry: fry once, drain, then fry again 30 seconds until deeply golden.
- → Can I bake instead of fry the chicken?
-
Baking at 425°F for 20-25 minutes, flipping halfway, works but yields less crunch. Spray coated chicken with oil spray before baking and finish under the broiler 1-2 minutes for golden color.
- → What can I substitute for tonkatsu sauce?
-
Mix equal parts ketchup, Worcestershire sauce, and oyster sauce with a dash of soy sauce. Or use bulldog sauce, teriyaki glaze, or even sweet chili sauce for different flavor profiles.