 Save
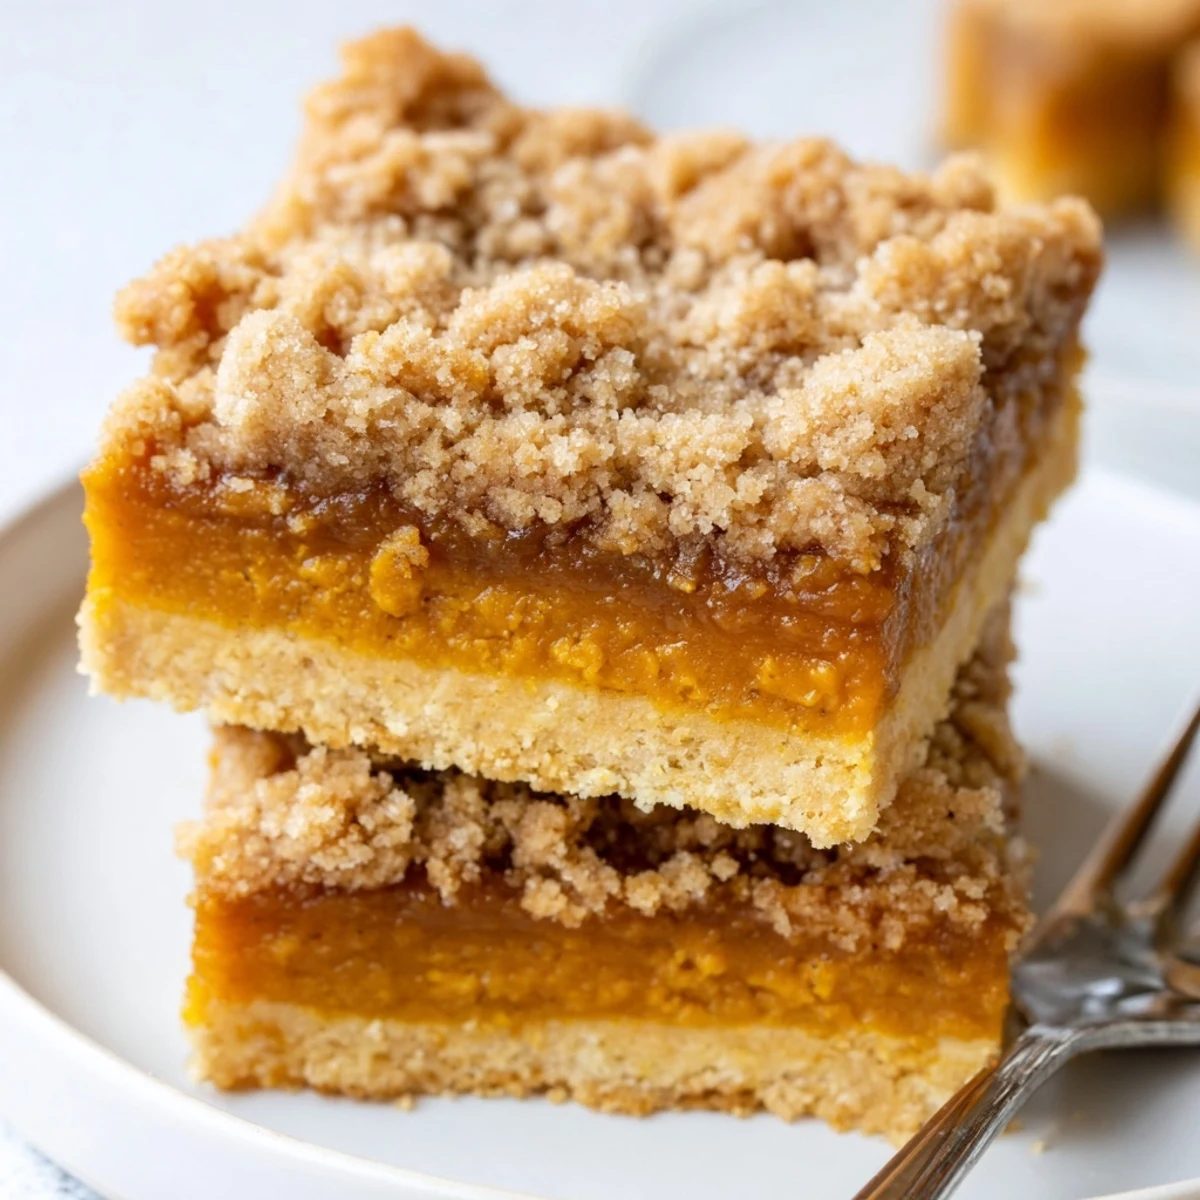
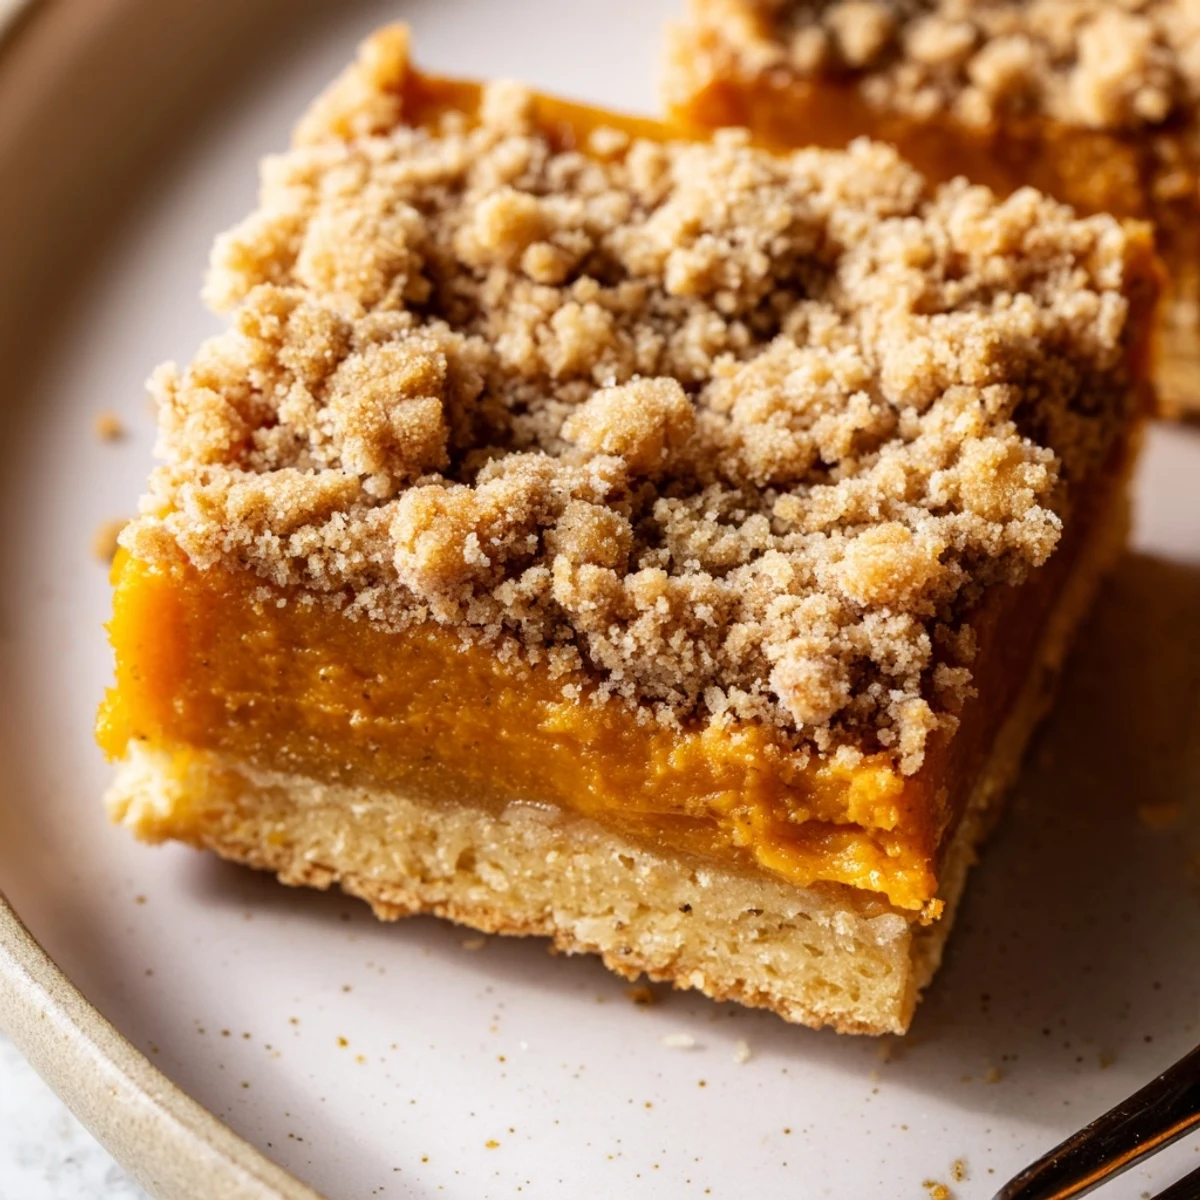
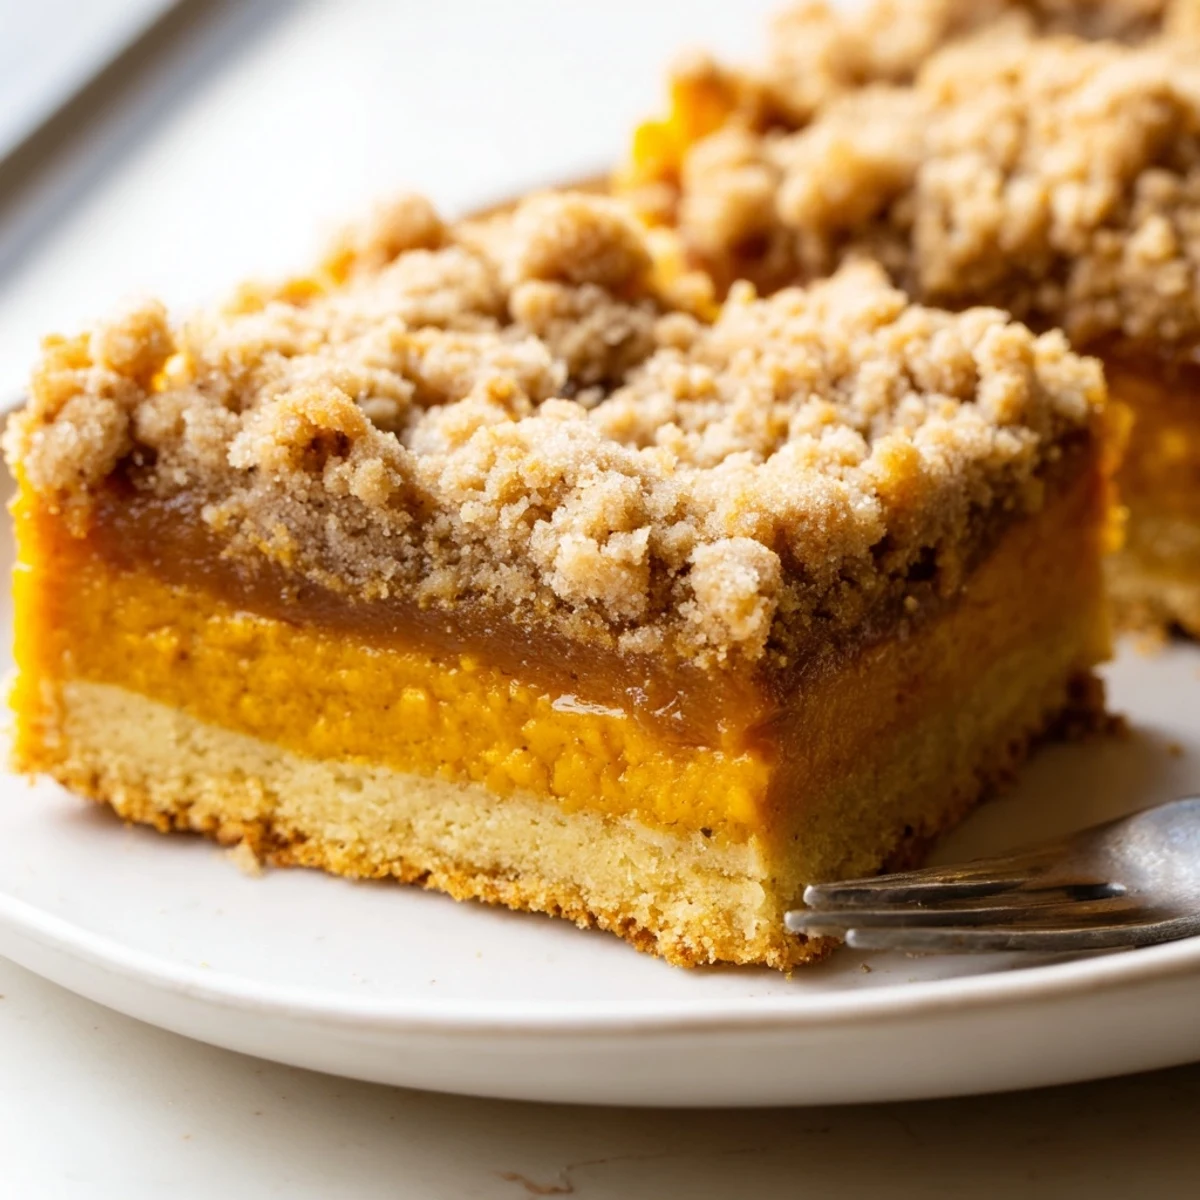
Save These indulgent bars start with a pressed buttery crust that gets a quick head start in the oven. Meanwhile, whisk together smooth pumpkin puree with pure maple syrup, brown sugar, and warming pumpkin pie spice. Pour this golden filling over the crust, then crown it with a crumbly brown sugar streusel scented with cinnamon. Thirty minutes later, you'll have beautifully set bars with a tender center and crispy, golden topping. Let them cool completely before cutting—this step is crucial for clean, neat squares that hold their shape beautifully.
The first time I made these bars, my kitchen smelled like an autumn bakery had exploded in the best possible way. My roommate wandered in with her coffee mug, asking what magical thing was happening in the oven. We ended up eating them warm while standing at the counter, which is still my preferred method of consumption.
I brought these to a book club meeting last November, and honestly, people talked more about the bars than the book. My friend Sarah asked for the recipe before she even finished her first square. Now theyre requested at every fall gathering I attend.
Ingredients
- All-purpose flour: Forms the foundation of both crust and streusel, giving structure to all that buttery goodness
- Brown sugar: Adds deep caramel notes that white sugar just cannot replicate in autumn baking
- Cold butter: Keep it cold for the crust, you want those butter bits to stay intact until they hit the oven heat
- Pumpkin puree: Use pure pumpkin puree, not pumpkin pie filling, which has spices and sweeteners already added
- Maple syrup: Real maple syrup adds an earthy sweetness that pairs beautifully with the pumpkin
- Pumpkin pie spice: If you cannot find it, mix cinnamon, ginger, nutmeg, and cloves yourself
Instructions
- Prep your oven and pan:
- Line your square baking pan with parchment paper, letting the ends overhang like handles. This makes lifting the whole batch out so much easier later.
- Make the crust:
- Work quickly to keep that butter cold, pressing the mixture firmly into an even layer. The flour should look like coarse sand when you are done cutting in the butter.
- Par bake the foundation:
- While the crust bakes, whisk your filling ingredients until silky smooth. Lumps are not your friend here.
- Layer it up:
- Pour that gorgeous orange filling over the warm crust, then scatter the streusel like confetti. Do not press the topping down, let it sit loosely.
- Bake until golden:
- The center should be set but still slightly jiggly, like pumpkin pie. It will firm up as it cools, so do not overbake.
- Patience is everything:
- Let them cool completely before cutting. Warm bars are delicious but they will be a messy, delicious puddle.
 Save
Save My daughter helped me make these last weekend and immediately declared them better than pumpkin pie. She kept sneaking streusel bits off the top while they cooled. We ended up with a very uneven looking batch but no complaints about the taste.
Making Them Gluten Free
I have made these with a cup for cup gluten free flour blend and honestly, nobody noticed the difference. The texture stays just as tender, and the streusel remains perfectly crumbly. Just check that your other ingredients are certified gluten free too.
Adding Some Crunch
Chopped pecans or walnuts folded into the streusel topping add such a lovely contrast to the creamy pumpkin filling. The nuts get toasty in the oven and bring another layer of flavor that makes these feel extra special.
Storage And Serving Tips
These actually taste better the next day, once the flavors have had time to become friends. I keep them in the refrigerator and think they are best served chilled or at room temperature, never cold from the fridge.
- Wrap individual bars in parchment for grab and go breakfasts
- These freeze beautifully for up to three months if you want to get ahead
- A dusting of powdered sugar right before serving makes them look fancy
 Save
Save Hope these become your new fall tradition too.
Recipe Questions
- → Can I make these bars ahead of time?
-
Absolutely. These bars actually improve after a day in the refrigerator, as the flavors meld together. Prepare them up to two days before serving, storing tightly wrapped in the refrigerator. Bring to room temperature for 30 minutes before serving for the best texture.
- → What's the best way to get clean cuts?
-
The secret is patience—let the bars cool completely in the pan, at least 2-3 hours. For extra clean edges, refrigerate the cooled bars for 30 minutes before cutting. Use a sharp knife wiped clean between cuts, and make slow, deliberate strokes through the layers.
- → Can I use fresh pumpkin instead of canned puree?
-
Yes, though you'll need to cook and puree fresh pumpkin first. Roast cubed pumpkin at 400°F until tender, then blend until completely smooth. Drain excess liquid by letting the puree sit in a cheesecloth-lined sieve for 30 minutes. One small sugar pumpkin typically yields about 1½ cups of puree.
- → Why did my center turn out slightly runny?
-
This usually means they needed a few more minutes in the oven. The center should jiggle slightly like gelatin when done—completely liquid means more time is needed. Every oven varies, so start checking at 28 minutes. If the top browns too quickly, tent with foil for the remaining time.
- → Can I freeze these bars?
-
These freeze beautifully. Cut the cooled bars into squares, wrap individually in plastic, then place in a freezer-safe container. They'll keep for up to 3 months. Thaw overnight in the refrigerator, then bring to room temperature before serving. The texture remains remarkably close to freshly baked.